Quickcrop Schools Update (PDF)
File information
Title: Quickcrop Schools Update
This PDF 1.5 document has been generated by Adobe Illustrator CS4 / Adobe PDF library 9.00, and has been sent on pdf-archive.com on 26/03/2011 at 13:34, from IP address 88.151.x.x.
The current document download page has been viewed 1250 times.
File size: 235.53 KB (3 pages).
Privacy: public file

File preview
Quickcr
p.ie
Grow your own!
Schools update March 2011.
So you’ve planted all you seeds, what do you do now?
In general:
Be careful not to soak the compost while you’re waiting for the seeds to germinate, they aren’t
using water at this stage so should require very little.
Once your baby plants have germinated they need to be kept moist. Little and often is better than
drenching them every now and then. It’s o.k. if the soil looks a little dry as it makes the plant work
harder and will produce a better root system. If it gets too dry the compost can form a crust
making it difficult to water later on.
Once your plants have germinated make sure they get plenty of light. Too much heat but not
enough light will result in stringy elongated plants which will not do well. If you’re using a
windowsill a good trick is to use a piece of card covered with tinfoil. Position this to reflect the
sunlight onto the shaded side of the plant.
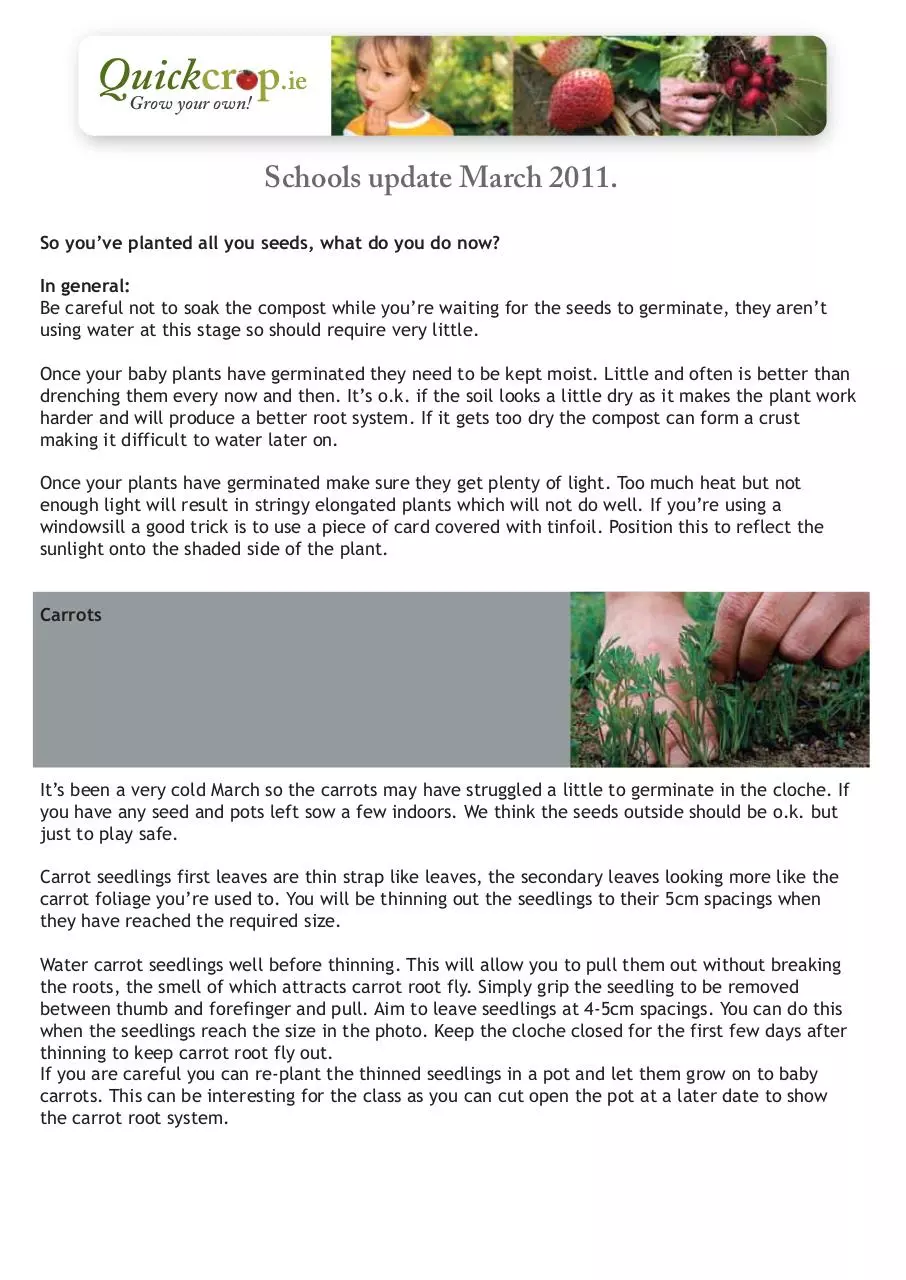
Carrots
It’s been a very cold March so the carrots may have struggled a little to germinate in the cloche. If
you have any seed and pots left sow a few indoors. We think the seeds outside should be o.k. but
just to play safe.
Carrot seedlings first leaves are thin strap like leaves, the secondary leaves looking more like the
carrot foliage you’re used to. You will be thinning out the seedlings to their 5cm spacings when
they have reached the required size.
Water carrot seedlings well before thinning. This will allow you to pull them out without breaking
the roots, the smell of which attracts carrot root fly. Simply grip the seedling to be removed
between thumb and forefinger and pull. Aim to leave seedlings at 4-5cm spacings. You can do this
when the seedlings reach the size in the photo. Keep the cloche closed for the first few days after
thinning to keep carrot root fly out.
If you are careful you can re-plant the thinned seedlings in a pot and let them grow on to baby
carrots. This can be interesting for the class as you can cut open the pot at a later date to show
the carrot root system.
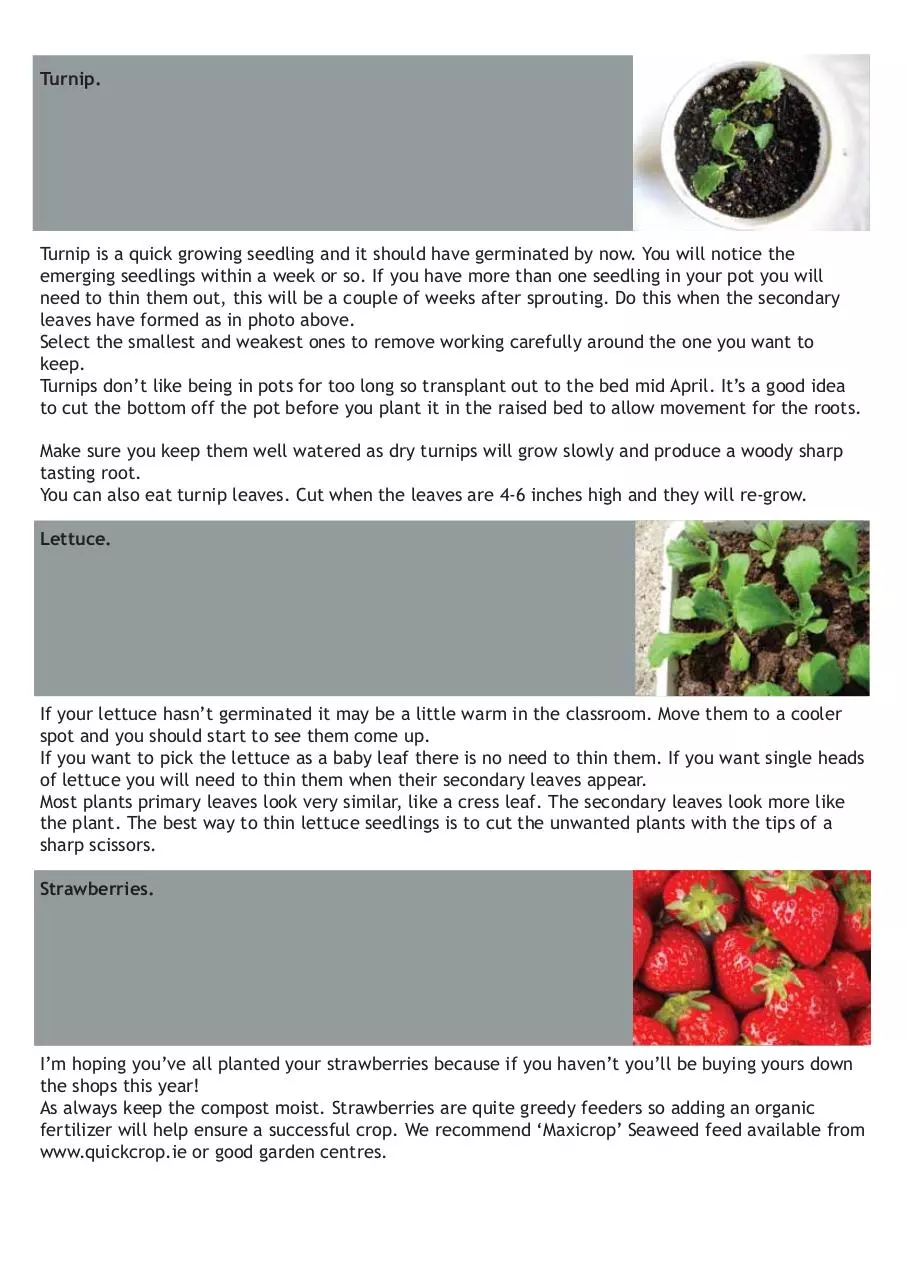
Turnip.
Turnip is a quick growing seedling and it should have germinated by now. You will notice the
emerging seedlings within a week or so. If you have more than one seedling in your pot you will
need to thin them out, this will be a couple of weeks after sprouting. Do this when the secondary
leaves have formed as in photo above.
Select the smallest and weakest ones to remove working carefully around the one you want to
keep.
Turnips don’t like being in pots for too long so transplant out to the bed mid April. It’s a good idea
to cut the bottom off the pot before you plant it in the raised bed to allow movement for the roots.
Make sure you keep them well watered as dry turnips will grow slowly and produce a woody sharp
tasting root.
You can also eat turnip leaves. Cut when the leaves are 4-6 inches high and they will re-grow.
Lettuce.
If your lettuce hasn’t germinated it may be a little warm in the classroom. Move them to a cooler
spot and you should start to see them come up.
If you want to pick the lettuce as a baby leaf there is no need to thin them. If you want single heads
of lettuce you will need to thin them when their secondary leaves appear.
Most plants primary leaves look very similar, like a cress leaf. The secondary leaves look more like
the plant. The best way to thin lettuce seedlings is to cut the unwanted plants with the tips of a
sharp scissors.
Strawberries.
I’m hoping you’ve all planted your strawberries because if you haven’t you’ll be buying yours down
the shops this year!
As always keep the compost moist. Strawberries are quite greedy feeders so adding an organic
fertilizer will help ensure a successful crop. We recommend ‘Maxicrop’ Seaweed feed available from
www.quickcrop.ie or good garden centres.
Potatoes.
You should have ‘chitted’ your potatoes by now as shown in the video. Once the potatoes have been
planted you’ll need to earth them up. Wait till the plant foliage has grown past the top of the pot
and then fill to the brim with compost.You will only need to do this once as the pots are quite small.
Do make sure to keep them well watered as the plastic sacks are prone to drying out. Potatoes will
also benefit from a liquid feed of ‘Maxicrop’.
The season ahead.
We’d like to wish you the best of luck with the project. Remember, if you wish to add to your pack
or order extra kits we have a schools section at www.quickcrop.ie. We are also offering schools a 10%
discount on all products to help you along the way. e-mail info@quickcrop.ie for your password code.
Our facebook page is one of the easiest ways to contact us and to compare your experience with
other schools. We’re running a free schools photo competition this year, for details you can go to our
page at: http://www.facebook.com/Quickcrop.ie
Download Quickcrop Schools Update
Quickcrop Schools Update.pdf (PDF, 235.53 KB)
Download PDF
Share this file on social networks
Link to this page
Permanent link
Use the permanent link to the download page to share your document on Facebook, Twitter, LinkedIn, or directly with a contact by e-Mail, Messenger, Whatsapp, Line..
Short link
Use the short link to share your document on Twitter or by text message (SMS)
HTML Code
Copy the following HTML code to share your document on a Website or Blog
QR Code to this page

This file has been shared publicly by a user of PDF Archive.
Document ID: 0000029522.