GlassWalkthrough (PDF)
File information
Title: Untitled
This PDF 1.6 document has been generated by Acrobat Editor 9.0 / Adobe Acrobat 9.3.0, and has been sent on pdf-archive.com on 29/10/2011 at 01:24, from IP address 66.165.x.x.
The current document download page has been viewed 1333 times.
File size: 3.64 MB (9 pages).
Privacy: public file


File preview
Glass Walkthrough
-For Demo 2.0-
Castle: 3rd Floor
♦ Before gameplay begins, will you have an option to review a written tutorial. If you
choose not to now, you can access it later at any time from the Tutorial Book in the
key items slot of your inventory.
♦ At the start of the game, you'll find yourself in a mostly empty room, near a bed
that also functions as a save point. On the table across from the bed, there is a piece of
paper that you must pick up before being able to leave - Journal 10/02/00. You can
also optionally pick up the Music Box at the bottom of the same table, an item that
gives you access to the Sound Test mode, and examine the dressing under the
dividing wall for an easy +$10.
♦ When you are ready to leave the room, you'll emerge into a large hallway with
several rooms of the side, an exit to the south, and an exit to the north. The exit to the
south is locked, and before moving on the the north you have to at least enter the topleft room. Optionally, you can also enter the bottom left room to find Running
Sneakers within the chest. The top-right room however, is empty. If you choose, you
can also examine the clock near the top of the hall for a tidbit of information (in the
full game, there will eventually be a cutscene that triggers if you continue examining clocks,
but that's beyond the scope of this demo).
♦ Enter the top-left room and talk to the girl there. When you're done asking
questions, leave and go out the top hallway entrance.
♦ All doors inside the dinning room are locked except for the bottom-left exit. Make
sure to pick up the 3rd Floor Map from the floor, then proceed through that door for
a cutscene. The first battle will follow, and afterwards Elenore will join the party.
♦ Go back up through the dinning room and out the same bottom-left entrance.
From this point on, battles will begin upon contact with the enemies roaming the
screen. If you get too close, they will give chase (unless you are of a high enough level
to make them flee instead). You can go straight through the hallway, or you can
explore for some items.
♦ If you choose to explore, you can head down to the kitchen first for 3 Health
Drinks from inside the chest and a Tuna Can from inside an open crate in the
bottom-right corner. If you wish, you can return and give this to Elenore's cat to
receive a Rare Herb (Green), which increases a chosen character's HP by 20. This
can also be done later. Return to the main corridor and take the upper hallway. The
two doors to the right and left lead to restrooms. Examine the bathtub in either one
to receive +$20 (the second tub you examine will be empty). The men's restroom (the
right door), is otherwise empty, though there is a single enemy in the woman's
restroom (the left door). The door at the top of the hallway leads to the patio balcony,
where you can find a Pretty Bow and a save point.
♦ After you choose to proceed out main left exit of the corridor their will be another
cutscene, after which you will face a stronger form of enemy. During the battle, Ervay
will learn his first skill. He'll learn skills normally, from leveling up, from now on.
♦ If you want to collect more items, you can visit the food storage rooms directly
across from the lounge's entrance. The middle door is locked for now, but the top
room contains a loaf of Wheat Bread and a bottle of Cheap Wine (examine the
middle sections of both sets of shelves), and you can find Cloth Slippers within a
chest in the bottom room.
♦ When ready, leave out of the bottom-right exit and proceed down the corridor,
optionally stopping at the right exit, the laundry room, for +$50.
♦ After exiting out of the bottom doorway, grab Journal 03/11/97 from the floor,
and examine the stairway exit to find it locked. Head for the left exit. Inside the
reading hall the top exit is currently locked, so take the bottom door when ready to
find the first village.
Cantalla
-available sidequests• Blue Bat: Talk to a boy in the inn's 4th room and agree to hunt down a peculiarly colored bat for an
eventual rewards of +$100 and 50 EXP.
• Punishment: Enter the only house on the cliffs. Afterwards you will be told to find an heirloom pendant.
After finding it, you will be given a choice to sell if for +$250 or returning it for a Stylish Hat and 70
EXP.
• Odd Tonic: Enter the long house near the pond and talk to the girl there. Agree to look for the bat wings
and white flowers for an eventual reward of Fettachini and 50 EXP. You can return at a later point in
the game and talk to the boy for a Silver Anklet as well.
♦ The village contains many amenities, like weapon, armor/accessory, and item
stores, a cafe for cooking, and an inn where you can heal and save for a fee of $20.
There will also be a cutscene the first time you sleep in one of the inns beds. There are
also a total of three optional sidequests to undertake (see the list above). Accepting
your first sidequest will also get you a Quest Book, a key item you can use to keep
track of your optional tasks.
♦ Talk to villagers in search of the missing key. While doing so, you can also find
Journal 09/27/00 behind the garden. A cutscene will also trigger after talking to a
certain number of villagers. During it, there will be a dialogue branch. Select the top
choice to increase the Ervay/Elenore relationship by +2. Selecting the bottom choice
has no effect.
♦ Eventually, it will become obvious that the key is not in the village. Keep asking
around until the cutscene prompting you to the caves takes place. Afterwards, prepare
and head up the cliffs towards the entrance in the northwest. On the way, you can
pick up 2 Energy Drinks on the ledge below the cliffside house, and +$35 just to the
left of the cave entrance. The maroon-haired boy in front of the outfitting shop will
also offer you free Chocolate. Make sure you are as prepared as you can be in regards
to weapons, armor, and items before you enter, including antivenin.
Ervay's House (Dungeon 1)
♦ There are a few new enemies here that are a step up in difficulty from those faced
in the castle. If you need to, you can return to Cantalla at anytime to buy more items
or weapons. You can earn Bat Wings, needed for the Odd Tonic quest by defeated the
bats in the enemy groups. While exploring, you can grab a Wingless Feather from a
chest near the TV, and out in the kitchen, you can grab an Egg from the fridge, Old
Cookies from the right bread shelf, and a bottle of Cheap Wine from the liquor
stand. Journal 02/24/10 is lying on rug by the piano.
♦ You can check out the gardenroom, the bottom-right door, at any time to find the
White Flowers needed for the Odd Tonic quest in the planter in the top right corner
of the room, and 20 Handguns Magazines from a chest. You can also go out the
bottom door to find yourself back on a previously inaccessible area of Cantalla's cliffs.
Here's where you'll find the Blue Bat for the quest of the same title. It's a tough
enemy, however, so it may be wise to wait to take it down until after you gain the
third party member.
♦ Head up the stairs to find a fire blocking access to the second floor. To put it out,
head back down now and head for the downstairs bathroom (the far bottom-left door
near the kitchen). Grab one of the empty buckets across from the laundry machines.
The plumbing in the bathroom isn't working, so head back out to the kitchen and fill
up the bucket from the kitchen sink. Afterwards, bring it back upstairs and examine
the fire to put it out.
♦ All the sibling's bedroom doors are locked (the three first doors on the right), but
you can explore the other rooms at leisure. If you examine the doors of the three
locked rooms, Ervay will prompt the group to the attic. However, once you climb the
ladder leading to it, it will be discovered that the power is out in the attic and it's too
dark to see anything. Before you can explore the attic and unlock the bedrooms, the
power must be restored to the attic. But for this, the study leading to the basement
must be unlocked.
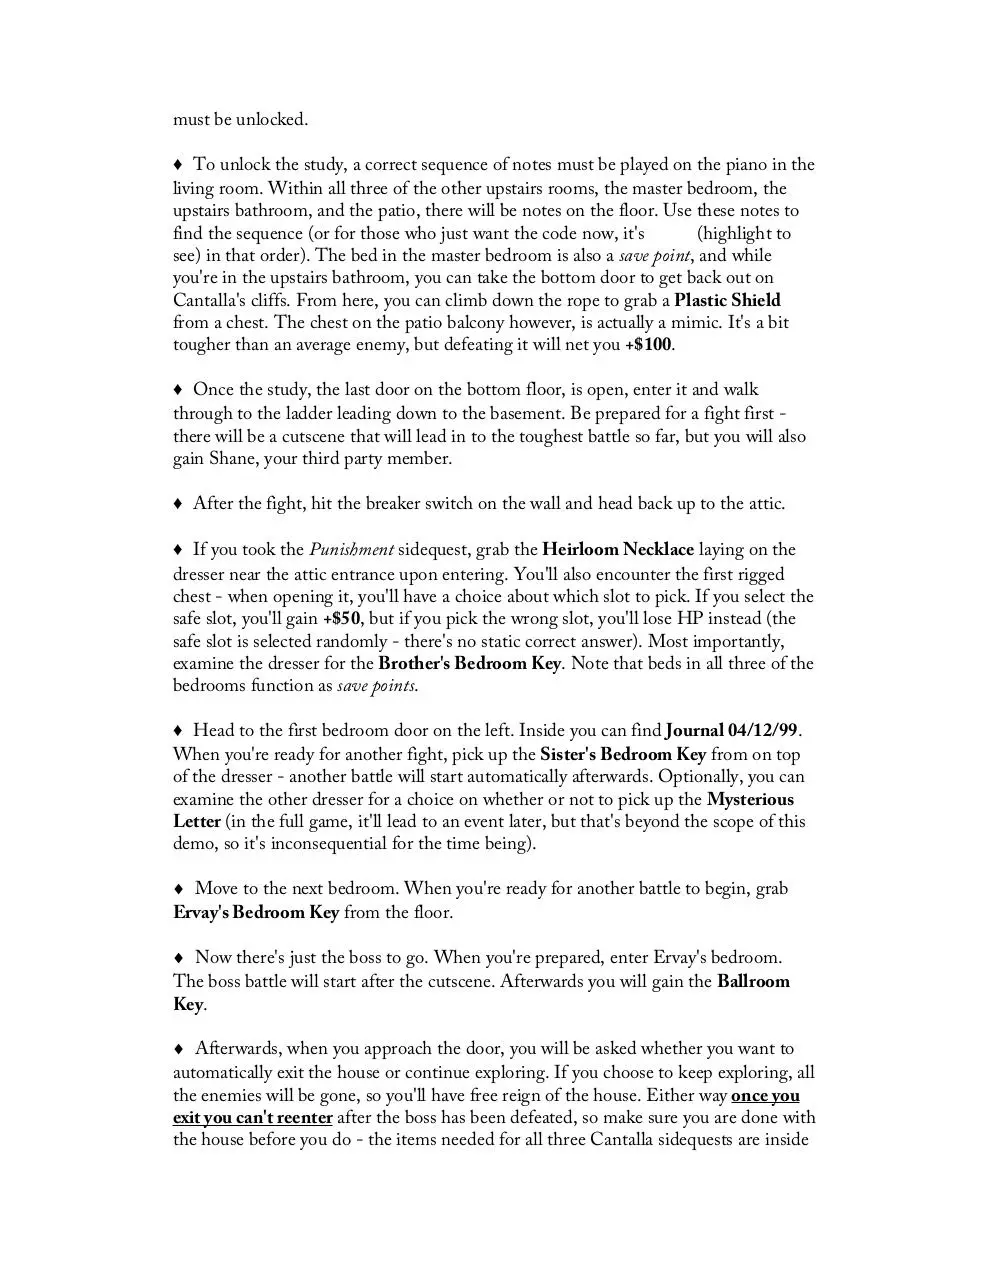
♦ To unlock the study, a correct sequence of notes must be played on the piano in the
living room. Within all three of the other upstairs rooms, the master bedroom, the
upstairs bathroom, and the patio, there will be notes on the floor. Use these notes to
find the sequence (or for those who just want the code now, it's GCA (highlight to
see) in that order). The bed in the master bedroom is also a save point, and while
you're in the upstairs bathroom, you can take the bottom door to get back out on
Cantalla's cliffs. From here, you can climb down the rope to grab a Plastic Shield
from a chest. The chest on the patio balcony however, is actually a mimic. It's a bit
tougher than an average enemy, but defeating it will net you +$100.
♦ Once the study, the last door on the bottom floor, is open, enter it and walk
through to the ladder leading down to the basement. Be prepared for a fight first there will be a cutscene that will lead in to the toughest battle so far, but you will also
gain Shane, your third party member.
♦ After the fight, hit the breaker switch on the wall and head back up to the attic.
♦ If you took the Punishment sidequest, grab the Heirloom Necklace laying on the
dresser near the attic entrance upon entering. You'll also encounter the first rigged
chest - when opening it, you'll have a choice about which slot to pick. If you select the
safe slot, you'll gain +$50, but if you pick the wrong slot, you'll lose HP instead (the
safe slot is selected randomly - there's no static correct answer). Most importantly,
examine the dresser for the Brother's Bedroom Key. Note that beds in all three of the
bedrooms function as save points.
♦ Head to the first bedroom door on the left. Inside you can find Journal 04/12/99.
When you're ready for another fight, pick up the Sister's Bedroom Key from on top
of the dresser - another battle will start automatically afterwards. Optionally, you can
examine the other dresser for a choice on whether or not to pick up the Mysterious
Letter (in the full game, it'll lead to an event later, but that's beyond the scope of this
demo, so it's inconsequential for the time being).
♦ Move to the next bedroom. When you're ready for another battle to begin, grab
Ervay's Bedroom Key from the floor.
♦ Now there's just the boss to go. When you're prepared, enter Ervay's bedroom.
The boss battle will start after the cutscene. Afterwards you will gain the Ballroom
Key.
♦ Afterwards, when you approach the door, you will be asked whether you want to
automatically exit the house or continue exploring. If you choose to keep exploring, all
the enemies will be gone, so you'll have free reign of the house. Either way once you
exit you can't reenter after the boss has been defeated, so make sure you are done with
the house before you do - the items needed for all three Cantalla sidequests are inside
as well if you missed any, so make sure you have them if you want them.
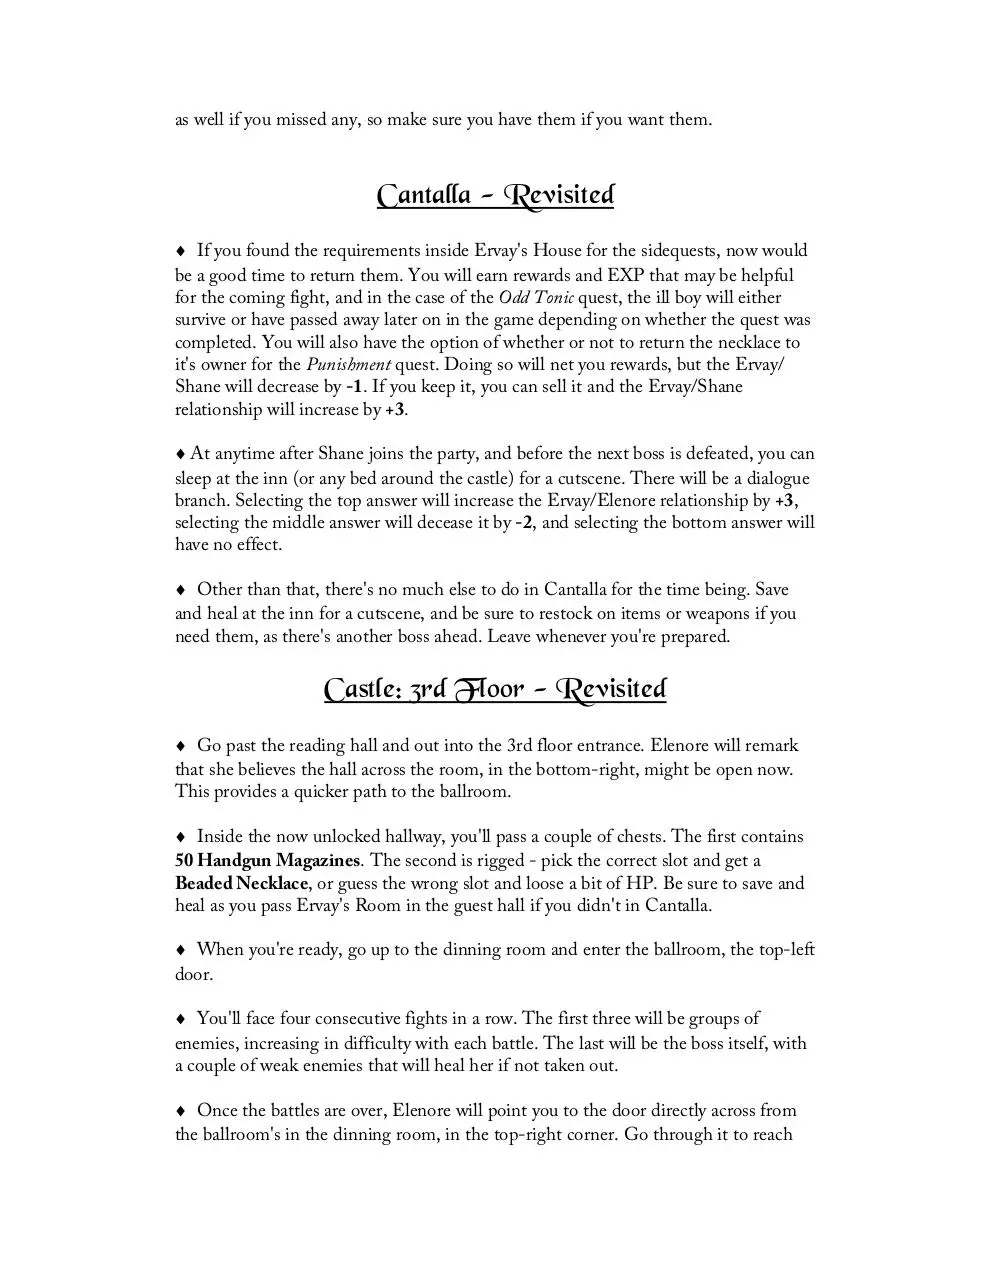
Cantalla - Revisited
♦ If you found the requirements inside Ervay's House for the sidequests, now would
be a good time to return them. You will earn rewards and EXP that may be helpful
for the coming fight, and in the case of the Odd Tonic quest, the ill boy will either
survive or have passed away later on in the game depending on whether the quest was
completed. You will also have the option of whether or not to return the necklace to
it's owner for the Punishment quest. Doing so will net you rewards, but the Ervay/
Shane will decrease by -1. If you keep it, you can sell it and the Ervay/Shane
relationship will increase by +3.
♦ At anytime after Shane joins the party, and before the next boss is defeated, you can
sleep at the inn (or any bed around the castle) for a cutscene. There will be a dialogue
branch. Selecting the top answer will increase the Ervay/Elenore relationship by +3,
selecting the middle answer will decease it by -2, and selecting the bottom answer will
have no effect.
♦ Other than that, there's no much else to do in Cantalla for the time being. Save
and heal at the inn for a cutscene, and be sure to restock on items or weapons if you
need them, as there's another boss ahead. Leave whenever you're prepared.
Castle: 3rd Floor - Revisited
♦ Go past the reading hall and out into the 3rd floor entrance. Elenore will remark
that she believes the hall across the room, in the bottom-right, might be open now.
This provides a quicker path to the ballroom.
♦ Inside the now unlocked hallway, you'll pass a couple of chests. The first contains
50 Handgun Magazines. The second is rigged - pick the correct slot and get a
Beaded Necklace, or guess the wrong slot and loose a bit of HP. Be sure to save and
heal as you pass Ervay's Room in the guest hall if you didn't in Cantalla.
♦ When you're ready, go up to the dinning room and enter the ballroom, the top-left
door.
♦ You'll face four consecutive fights in a row. The first three will be groups of
enemies, increasing in difficulty with each battle. The last will be the boss itself, with
a couple of weak enemies that will heal her if not taken out.
♦ Once the battles are over, Elenore will point you to the door directly across from
the ballroom's in the dinning room, in the top-right corner. Go through it to reach
the next village.
Azarathe
-available sidequests• Salmon Fishing: Talk to the boy in front of the outfitting shop and agree to catch a salmon for +$150
and 70 EXP.
• The Dare: Talk to the boy in the house below the inn and agree to fetch five black feathers from the crows
in the forest for +$350 and 200 EXP.
• Memento: Talk to the man in the house to the left of the weapon shop and agree to fetch a memento of his
old friend from the woods for an Emerald Cape and 250 EXP. You can also go upstairs in his house to
talk to his daughter afterwards to receive a Hair Charm as well after the quest is complete.
• Lost Girl: Talk to the little girl in the house to the left of the first stairs and agree to look for her sister in
the forest. This quest has two different outcomes. Once you find the girl, you'll have a certain amount of
time to return her to her family in time for her to be saved. If you take too long, she wont be able to be
saved and will pass away. If she survives, you'll earn a hefty +$500 and 400 EXP. If she passes away,
you'll still get +$100 and 150 EXP for trying to help.
♦ The shops all carry new weapons and equipment - it'd be wise to check them out.
Also make sure to talk to the man fishing on the first dock for a free Fishing Pole and
instructions on how to use it. You can now access the fishing minigame from most
docks, something that will be used during a few optional sidequests, and that can
come in handy as a way to get money or cooking material. There are various types of
fish, of different rarities - in Azarathe you can catch the Common Carp, Silver
Trout, or Salmon, and if you make a trip back to Cantalla you can catch Bass and
Perch instead of the latter two. Make sure to grab the Raw Noodles and Flour from
the chest beyond the restaurant's back exit, and Journal 05/16/05 on the small island
against the south wall, as well.
♦ While exploring Azarathe, you'll encounter the 'angel' everyone is talking about as
you near the inn. Afterwards, he'll move towards the south exit of the village. Talk to
him and he'll join your party. Afterwards, you can enter the next dungeon through the
south exit whenever you're prepared and ready.
Azarathe Forest (Dungeon 2)
♦ Walking towards the first bridge will trigger a cutscene. Afterwards, Elliot will be
able to use his skills, giving you access to the first available healing skill.
♦ The forest is a very large, somewhat maze-like area. There are also a few cliffs
scattered around - to climb up these, you will need to plant Vine Seeds as the bottom
of them, in the dark soiled, earthy areas. A vine will grow, allowing you to ascend it to
the next platform each time you plant one. You can earn these seeds by defeating
Black Roses.
♦ The required route to reach the next area from the entrance is down, right, down,
down, right, and up, and you will need a minimum of three seeds to reach the second
to the top platform of the cliff, where you'll find the entrance to the next area.
However, there is much more to found with a little exploring:
- You can find the Injured Girl that you need to locate for the Lost Girl quest by going
down, right, down, down, right, down, left, and up, and then all the way to left from
the entrance. You'll have to fight a couple of crows. Afterwards, an invisible timer will
start. If you get her home before it runs out, she'll survive (and you'll get better rewards),
but if you take too long and the timer runs out, it will be too late to save her by the time
you get back. Elliot will give a warning when the timer is halfway depleted.
- If you use one more seed to get to the top platform of the cliff with the area exit, you
can find a Mysterious Diamond in a hidden chest all the way to the right, obscured by
tree top. This rare item will level up a character of your choosing.
- If you go down, right, down, left, up from the entrance and use seeds to climb the cliff
there, you can find +$350 in a chest at the top.
- If you go down, right, down, down, right, down, left, down, up from the entrance and
climb the cliff there, you can find a chest that contains a blue mimic. If you defeat it,
you'll earn a +$500.
- You can also find Leather Gloves in a ground-level rigged chest if you turn left at
the first fork, pick up Journal 09/18/99 on the island to the right of the one holding the
bottom-right cliff, and earn Black Feathers for the The Dare quest by defeating the
crows you encounter.
♦ Once you're in the next area, you'll need to use two more seeds to get back to
ground-level.
♦ When you go right to the first long bridge, there will be a cutscene with four
dialogue branches. The first answer with decrease the Ervay/Shane relationship by -2,
but increase the Ervay/Elenore relationship by +2. The second answer will simply
increase the Ervay/Elenore relationship by +1. The third answer will increase the
Ervay/Shane relationship by +3, but decrease the Ervay/Elenore relationship by a
hefty -4. Finally, the fourth answer will decrease the Ervay/Elenore relationship by -1,
while increasing both the Ervay/Shane relationship and the Ervay/Elliot relationship
by +1.
♦ From this bridge, you can reach the boss by going straight across, walking down
until you see the next bridge, heading left on it, going down, going right, and going
up, then using two seeds to climb the right cliff and crossing the bridge from there.
But you can find many more items by exploring here as well:
- If you use an extra seed to reach the top of the first cliff that you enter this area on, you
can find a Fang Spear in the chest there.
- If you go down after getting off the first cliff, you can find try getting a Beaded
Necklace from a rigged chest.
- If you take the first upper fork on the long bridge, you can potentially find a Hair
Charm in the rigged chest on the island there.
- If you take the second upper fork on the long bridge, you can climb a cliff to reach the
abandoned fort you were prompted to if you accepted the Memento quest. Inside the
fort, examine the scarf on the table to pick up Roland's Scarf to bring back.
- If you go past the entrance to the second long bridge and onto the lower left inlet of
that chunk of land, you can find 45 Handgun Magazines and 30 Rifle Magazines.
- If you go down from that same chunk of land after crossing the first long bridge, you
can find Journal 11/09/05 on ground-level and 2 Energy Drink +s by climbing up
onto the lower cliff platform.
- If you go down from the second long bridge and climb up that cliff, you can reenter the
previous area and access a previously unreachable chest that contains a Silver Trout.
- If you climb up the cliff to the left of the one that leads you to the boss, you can face a
Blue Mimic. If you defeat it, you'll earn a Simple Wand.
♦ Make sure you're prepared to face the boss before walking across the bridge that
stretches between two cliffs, though you'll only be facing one battle again this time.
♦ Afterwards, you'll finally gain the 2nd Floor Key.
Alto Forest
♦ Seek out the girl by following the trail of blood. There are no items and you will be
unable to go anywhere else.
Azarathe Forest (Dungeon 2) - Revisited
♦ After the cutscene, you will have the option to continue exploring or warp back to
Azarathe. Unlike Ervay's House, if you choose to keep exploring the enemies will
remain. However, you will also have the option to return to the forest whenever you
choose to for the rest of the game.
Azarathe - Revisited
♦ Complete any quests that you found the items for and take off at your choosing.
There is nothing else that remains to be done here.
♦ When you approach the exit, there will be a cutscene with a couple of dialogue
branches. The first option will decrease the Ervay/Elenore relationship by -2, but
increase the Ervay/Sascha and Ervay/Elliot relationships by +3 each. While the
second option will decrease the Ervay/Sascha relationship by -3 and the Ervay/Elliot
relationship by -1, but increase the Ervay/Elenore relationship by +4.
Cantalla - Revisited2 (optional)
-available sidequests• Seeing The World: Talk to the girl in front of the item shop to start a special quest that involves
collecting snapshots from areas around the castle. Note: in the current version of the game, this quest is
incompletable. In the full version you will gain a special skill for completing this quest. However, after
getting the camera, you can take a snapshot in Azarathe from the area behind the cafe and bring it back to
her for some extra dialogue and a tip of +$150.
• Fish Collection: Catch one of every currently available fish from Cantalla and Azarathe (the Common
Carp, the Silver Trout, the Salmon, the Bass, and the Perch) and give them to the boy pacing in front of
the inn for a hefty reward of +$660 (twice what the stores would pay for the same amount).
♦ Revisiting Cantalla is purely optional, but an extra visit will give you some extra
dialogue and access to some additional sidequests, including one major one that you
can start by talking to the girl in front of the item shop.
♦ Inside the village, you'll find that things aren't quite as you last left them. You can
actually return earlier if you wish - anytime after completing the Ballroom - to see the
changes, but if you wait until Sascha is in your party, you'll see an additional dialogue
scene with her.
Castle: 3rd Floor - Revisited2
♦ Head back to the 3rd floor entrance via whatever path you choose.
♦ Approach the stairway doors for a final cutscene that will end the demo.
To Be Continued
-Thank You For Playing-
Download GlassWalkthrough
GlassWalkthrough.pdf (PDF, 3.64 MB)
Download PDF
Share this file on social networks
Link to this page
Permanent link
Use the permanent link to the download page to share your document on Facebook, Twitter, LinkedIn, or directly with a contact by e-Mail, Messenger, Whatsapp, Line..
Short link
Use the short link to share your document on Twitter or by text message (SMS)
HTML Code
Copy the following HTML code to share your document on a Website or Blog
QR Code to this page

This file has been shared publicly by a user of PDF Archive.
Document ID: 0000034713.