Tech Writing Instructions (PDF)
File information
Author: Serra Abak
This PDF 1.5 document has been generated by Microsoft® Word 2013, and has been sent on pdf-archive.com on 04/05/2015 at 18:31, from IP address 70.187.x.x.
The current document download page has been viewed 422 times.
File size: 122.98 KB (3 pages).
Privacy: public file


File preview
Serra Abak
Daniel Powell
ENC 3241
April 5, 2015
Creating a Personal Portfolio on WordPress
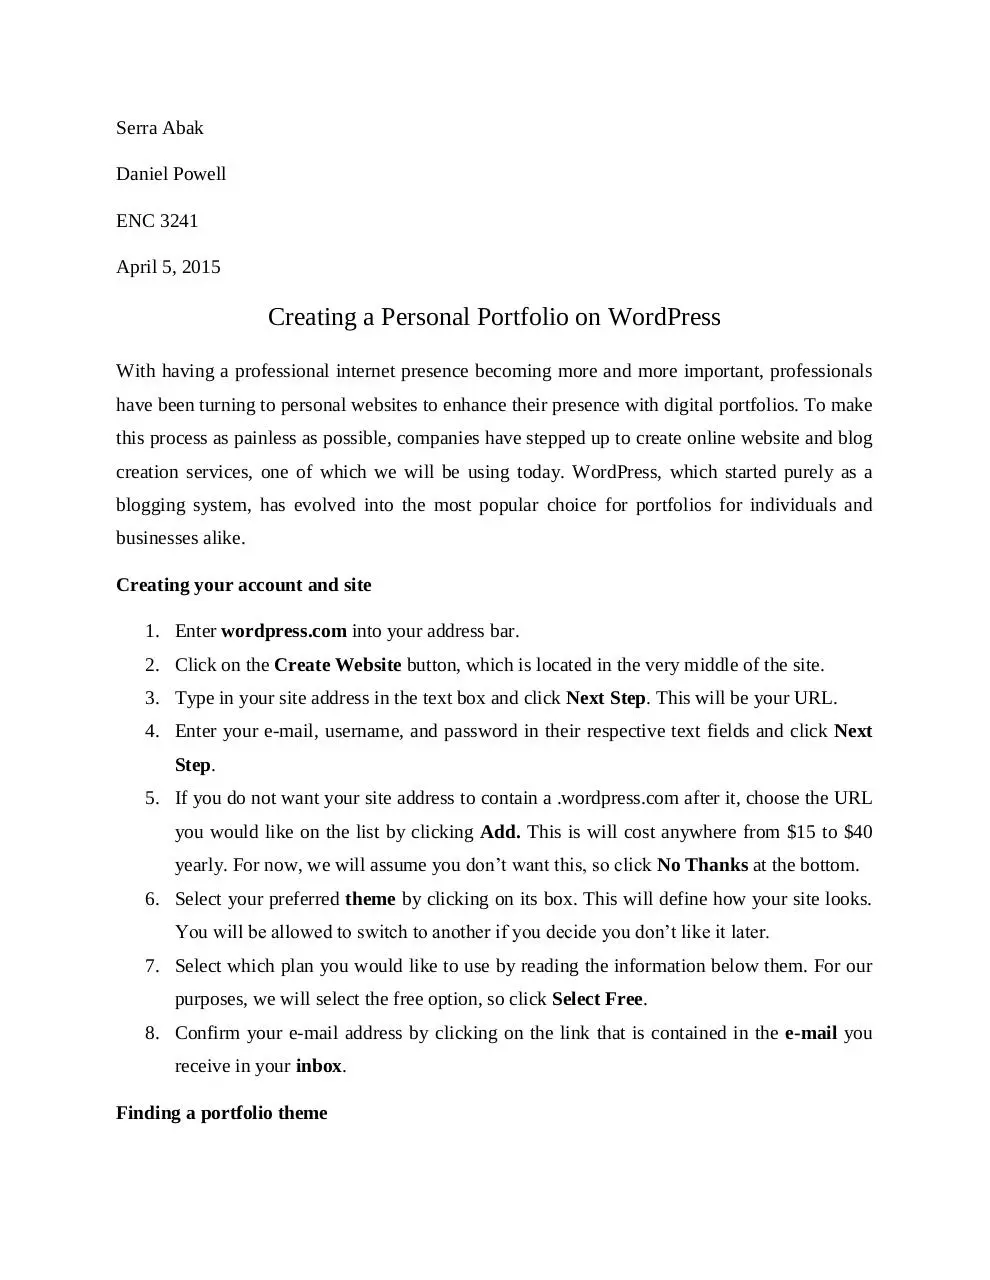
With having a professional internet presence becoming more and more important, professionals
have been turning to personal websites to enhance their presence with digital portfolios. To make
this process as painless as possible, companies have stepped up to create online website and blog
creation services, one of which we will be using today. WordPress, which started purely as a
blogging system, has evolved into the most popular choice for portfolios for individuals and
businesses alike.
Creating your account and site
1. Enter wordpress.com into your address bar.
2. Click on the Create Website button, which is located in the very middle of the site.
3. Type in your site address in the text box and click Next Step. This will be your URL.
4. Enter your e-mail, username, and password in their respective text fields and click Next
Step.
5. If you do not want your site address to contain a .wordpress.com after it, choose the URL
you would like on the list by clicking Add. This is will cost anywhere from $15 to $40
yearly. For now, we will assume you don’t want this, so click No Thanks at the bottom.
6. Select your preferred theme by clicking on its box. This will define how your site looks.
You will be allowed to switch to another if you decide you don’t like it later.
7. Select which plan you would like to use by reading the information below them. For our
purposes, we will select the free option, so click Select Free.
8. Confirm your e-mail address by clicking on the link that is contained in the e-mail you
receive in your inbox.
Finding a portfolio theme
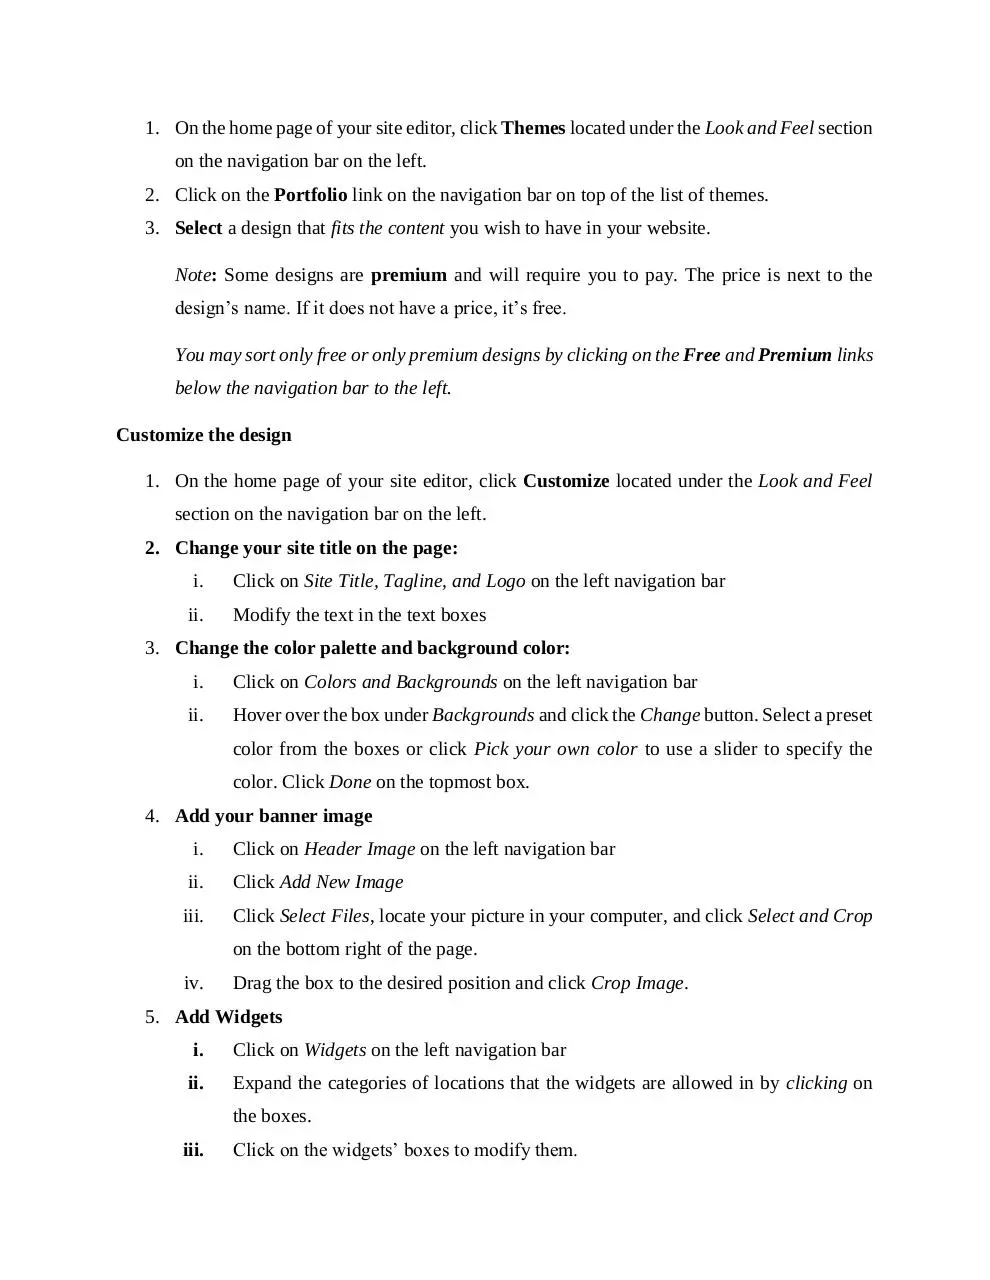
1. On the home page of your site editor, click Themes located under the Look and Feel section
on the navigation bar on the left.
2. Click on the Portfolio link on the navigation bar on top of the list of themes.
3. Select a design that fits the content you wish to have in your website.
Note: Some designs are premium and will require you to pay. The price is next to the
design’s name. If it does not have a price, it’s free.
You may sort only free or only premium designs by clicking on the Free and Premium links
below the navigation bar to the left.
Customize the design
1. On the home page of your site editor, click Customize located under the Look and Feel
section on the navigation bar on the left.
2. Change your site title on the page:
i.
Click on Site Title, Tagline, and Logo on the left navigation bar
ii.
Modify the text in the text boxes
3. Change the color palette and background color:
i.
Click on Colors and Backgrounds on the left navigation bar
ii.
Hover over the box under Backgrounds and click the Change button. Select a preset
color from the boxes or click Pick your own color to use a slider to specify the
color. Click Done on the topmost box.
4. Add your banner image
i.
Click on Header Image on the left navigation bar
ii.
Click Add New Image
iii.
Click Select Files, locate your picture in your computer, and click Select and Crop
on the bottom right of the page.
iv.
Drag the box to the desired position and click Crop Image.
5. Add Widgets
i.
Click on Widgets on the left navigation bar
ii.
Expand the categories of locations that the widgets are allowed in by clicking on
the boxes.
iii.
Click on the widgets’ boxes to modify them.
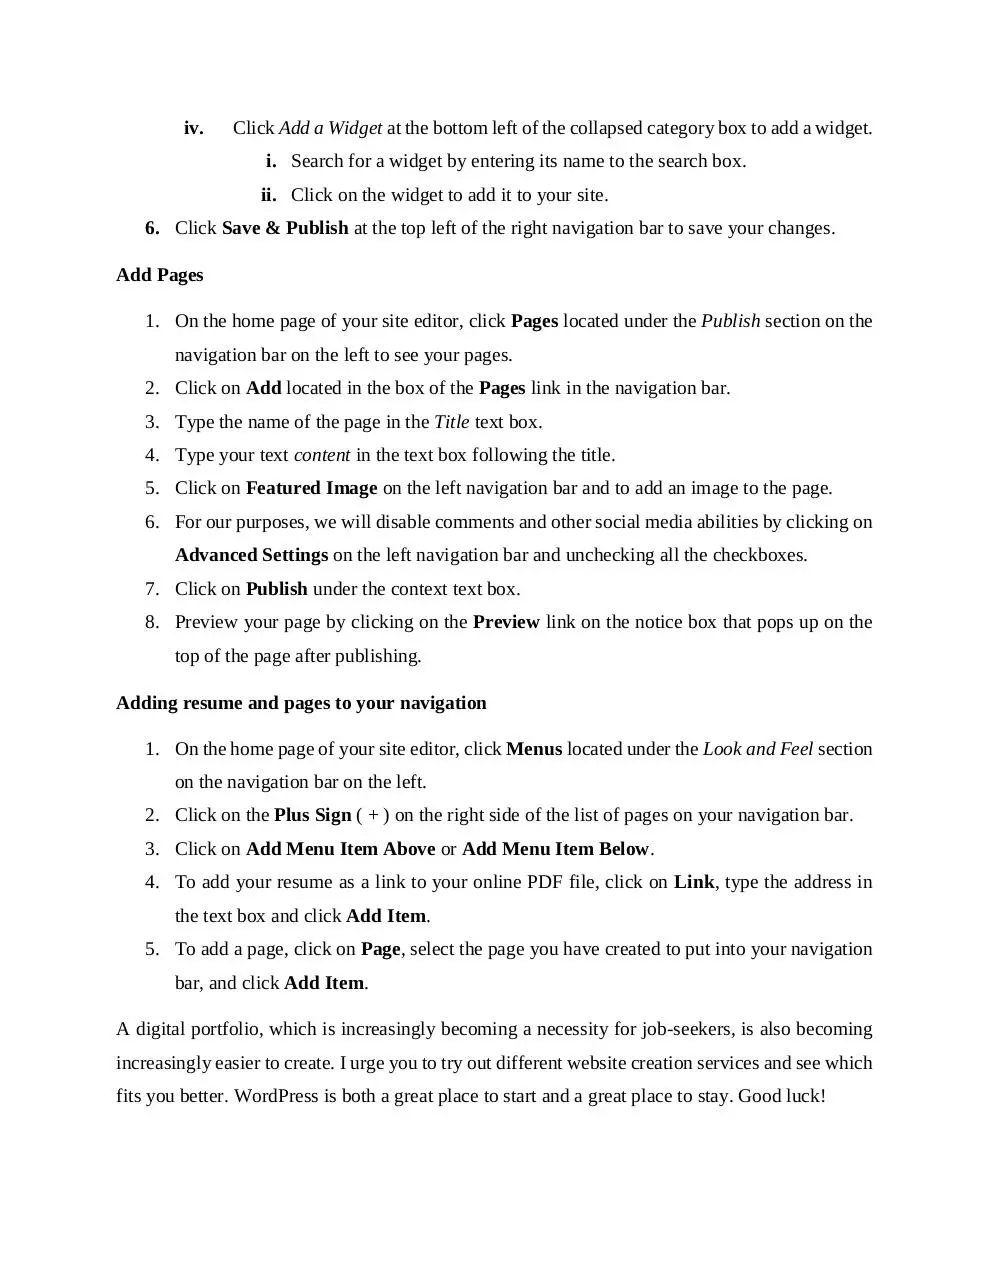
iv.
Click Add a Widget at the bottom left of the collapsed category box to add a widget.
i. Search for a widget by entering its name to the search box.
ii. Click on the widget to add it to your site.
6. Click Save & Publish at the top left of the right navigation bar to save your changes.
Add Pages
1. On the home page of your site editor, click Pages located under the Publish section on the
navigation bar on the left to see your pages.
2. Click on Add located in the box of the Pages link in the navigation bar.
3. Type the name of the page in the Title text box.
4. Type your text content in the text box following the title.
5. Click on Featured Image on the left navigation bar and to add an image to the page.
6. For our purposes, we will disable comments and other social media abilities by clicking on
Advanced Settings on the left navigation bar and unchecking all the checkboxes.
7. Click on Publish under the context text box.
8. Preview your page by clicking on the Preview link on the notice box that pops up on the
top of the page after publishing.
Adding resume and pages to your navigation
1. On the home page of your site editor, click Menus located under the Look and Feel section
on the navigation bar on the left.
2. Click on the Plus Sign ( + ) on the right side of the list of pages on your navigation bar.
3. Click on Add Menu Item Above or Add Menu Item Below.
4. To add your resume as a link to your online PDF file, click on Link, type the address in
the text box and click Add Item.
5. To add a page, click on Page, select the page you have created to put into your navigation
bar, and click Add Item.
A digital portfolio, which is increasingly becoming a necessity for job-seekers, is also becoming
increasingly easier to create. I urge you to try out different website creation services and see which
fits you better. WordPress is both a great place to start and a great place to stay. Good luck!
Download Tech Writing Instructions
Tech Writing Instructions.pdf (PDF, 122.98 KB)
Download PDF
Share this file on social networks
Link to this page
Permanent link
Use the permanent link to the download page to share your document on Facebook, Twitter, LinkedIn, or directly with a contact by e-Mail, Messenger, Whatsapp, Line..
Short link
Use the short link to share your document on Twitter or by text message (SMS)
HTML Code
Copy the following HTML code to share your document on a Website or Blog
QR Code to this page

This file has been shared publicly by a user of PDF Archive.
Document ID: 0000224208.