(2) UserGuide SmartKeys (PDF)
File information
Title: AmadeusSmartKeysv12.book
This PDF 1.3 document has been generated by FrameMaker 7.0 / Acrobat Distiller 5.0 (Windows), and has been sent on pdf-archive.com on 03/03/2016 at 03:55, from IP address 156.206.x.x.
The current document download page has been viewed 1644 times.
File size: 570.83 KB (32 pages).
Privacy: public file


File preview
How To Guide
Smart Keys
© 2005 Amadeus s.a.s.
All rights reserved.
Version 1.2
Job No: 1524
Published by:
Amadeus s.a.s
Educational Systems and Services
Fax: INT + 33 4 97 15 40 11
Email: ess.doc@amadeus.net
November 2005
HOW TO GUID E
Welcome
Smart Keys are automated lists of Amadeus commands that you can use to quickly
perform your most commonly used tasks in Amadeus Vista and Pro Web (versions 2.0
or greater). This How To Guide shows you how to use the Smart Key editor to create,
copy, update, run, and delete Smart Keys. It also provides you with an explanation of
the definition buttons and a syntax list for the Smart Key language.
Amadeus Pro Tempo users, if you are about to migrate to Amadeus Vista or Pro Web,
the last section of this guide is for you! A step-by-step procedure shows you how you
can easily convert your existing Host Keys to the Smart Keys environment, both at
office and user level, without needing to rewrite them.
Contents
Getting Started .................................................................................................4
The Command Page Toolbar .....................................................................4
Getting Help ...............................................................................................4
Smart Key Categories ................................................................................5
Working with the Interface ..............................................................................6
The Toolbar ................................................................................................7
The Smart Key Structure ...........................................................................8
Working with Smart Keys .............................................................................10
How to Create a Smart Key .....................................................................10
How to Copy a Smart Key .......................................................................11
How to Modify a Smart Key ....................................................................11
How to Delete a Smart Key .....................................................................11
How to Run a Smart Key .........................................................................12
How to Print a Smart Key ........................................................................12
Smart Key Examples .....................................................................................13
Understanding the Smart Key Language .......................................................14
Basic Smart Keys Rules ...........................................................................14
The Smart Key Syntax .............................................................................15
Automatic Migration of Host Keys to Smart Keys .......................................24
Phase 1: Saving Your Host Keys .............................................................24
Phase 2: Migrating to the Smart Keys Environment ...............................26
Migration Log File ...................................................................................28
Log Database ...........................................................................................28
3
A MA D E U S S M A R T K E Y S
Getting Started
The Command Page Toolbar
If you are using Amadeus Vista, click first on the Command Page tab
.
Only the first four Command Page toolbar buttons are applicable to the Smart Keys
feature:
Resume the current
Smart Key
Pause the current
Smart Key
Open the Smart Key Editor.
Alternatively, press CTRL + K.
Stop the current
Smart Key
Getting Help
If you need help on using the Smart Keys, click on
screen, or press F1.
4
at the top-right corner of your
HOW TO GUID E
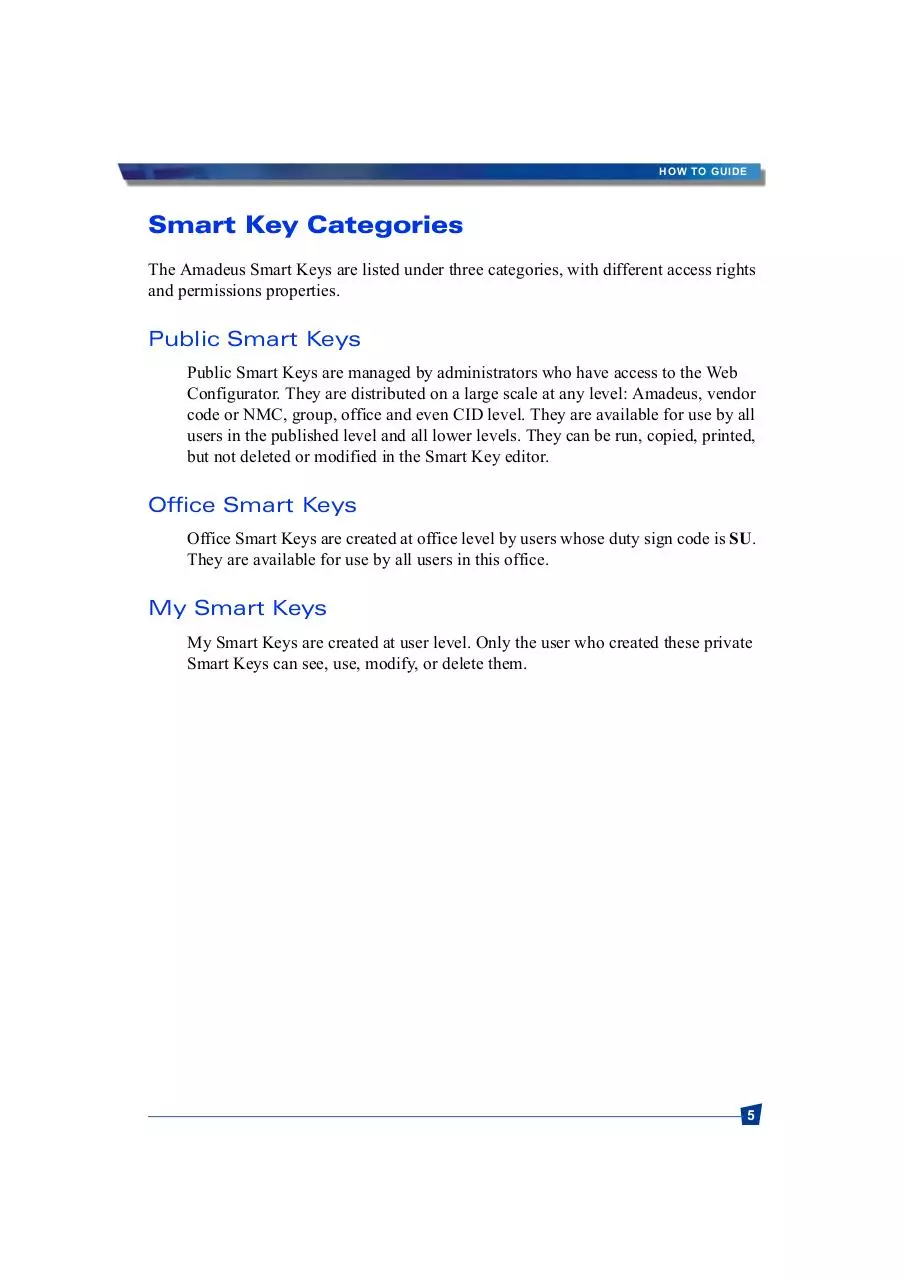
Smart Key Categories
The Amadeus Smart Keys are listed under three categories, with different access rights
and permissions properties.
Public Smart Keys
Public Smart Keys are managed by administrators who have access to the Web
Configurator. They are distributed on a large scale at any level: Amadeus, vendor
code or NMC, group, office and even CID level. They are available for use by all
users in the published level and all lower levels. They can be run, copied, printed,
but not deleted or modified in the Smart Key editor.
Office Smart Keys
Office Smart Keys are created at office level by users whose duty sign code is SU.
They are available for use by all users in this office.
My Smart Keys
My Smart Keys are created at user level. Only the user who created these private
Smart Keys can see, use, modify, or delete them.
5
A MA D E U S S M A R T K E Y S
Working with the
Interface
Selection
Column
View Bar
Smart Keys List:
- Public Smart Keys (created by
Amadeus or the Vendor)
Header
Panel
Definition
Buttons
- Office Smart Keys (created by an
office supervisor)
- My Smart Keys (created by you)
The Smart Key Editor
6
Smart Key Editor Toolbar
Text Window
Toolbar
Smart Key
Text Window
HOW TO GUID E
The Toolbar
Icon
Explanation
Keyboard Shortcut
Customizes the Smart Key Editor view.
Click on one of the icons to choose your
preferred display.
Copies an existing Smart Key.
CTRL + N
Creates a new Smart Key
CTRL + W
Runs a Smart Key
CTRL + R
Deletes the selected items
CTRL + Delete
Prints the selected items
CTRL + P
Launches the Smart Key help
CTRL + H
7
A MA D E U S S M A R T K E Y S
The Smart Key Structure
You create or modify the Smart Key structure in two panels: the Header panel, and the
Definition panel.
The Header Panel
In the Header panel, you enter basic information about the Smart Key, such as its name,
its description, or the associated shortcut key. Mandatory fields are highlighted in
yellow.
In This Field
Enter:
Smart Key Name
The name of your Smart Key (1 to 32 characters).
Example: 1A_ARNK.
Level
Select either Office to create a Smart Key that can be used by all users
in your office (only if your duty code is SU), or My Smart Keys to
create your own Smart Key.
Description
A description of the Smart Key which explains its function.
Example: EOT with automatic RF and AP.
Shortcut Key
The keyboard shortcut that will be used to launch this Smart Key from
the Command Page. Alternatively, you can double-click on an
available letter or number from the keyboard image.
Note: Letters and numbers that are already used are shown in red.
There are two sets of shortcuts: Shift+Alt+x for Office Smart Keys, or
Ctrl+Alt+x for My Smart Keys, x being any letter or number.
Label
The one- to four-characters button label identifying the Smart Key.
You can easily run the Smart Key by pressing this button from the
Command Page toolbar. Example: TKTL.
Note: If you assign a button label to the Smart Key, you must also
enter a shortcut key.
Label Position
The position of this Smart Key in the Command Page toolbar.
Example: 4 (fourth button from the left).
Note: To view the existing buttons and their position on the toolbar,
click on .
8
HOW TO GUID E
The Definition Panel
You use the Definition panel to create or modify the syntax of the Smart Keys. It is
composed of two main features: the Text window, and the Definition buttons.
Text Window
The Text window is an editor where you enter the Smart Key commands using the
programming language. This section is mandatory. It corresponds to the actual body of
the Smart Key.
The toolbar provides you with the following editing features: Select All, Cut, Copy, and
Paste. When you click on the Save button, you store the Smart Key in the Smart Keys
database. You can immediately see the new or modified Smart Key from the Smart
Keys list at the left-hand side of the screen.
Definition Buttons
By using the Definition buttons located to the left of the Text window, you can enter the
most useful commands to create Smart Keys by clicking on the corresponding button.
The following table describes each button:
Button
Explanation
Send
Inserts the Send command, which sends the information to the system.
Prompt
Inserts a user prompt, which asks the user for information needed to make
an entry.
Variable
Once you have created a variable using a prompt, you can insert the
variable name again in the same Smart Key.
Cursor
Inserts commands that affect the position of the cursor.
Comment
Inserts a comment into the Smart Key, for informational purposes only.
Special
Inserts special keys on the keyboard. Example: PF1.
Advanced
Inserts advanced commands. Example: CLEAR or TODAY.
Smart Key
Inserts another Smart Key to be run within this Smart Key.
9
Download (2) UserGuide SmartKeys
(2) UserGuide_SmartKeys.pdf (PDF, 570.83 KB)
Download PDF
Share this file on social networks
Link to this page
Permanent link
Use the permanent link to the download page to share your document on Facebook, Twitter, LinkedIn, or directly with a contact by e-Mail, Messenger, Whatsapp, Line..
Short link
Use the short link to share your document on Twitter or by text message (SMS)
HTML Code
Copy the following HTML code to share your document on a Website or Blog
QR Code to this page

This file has been shared publicly by a user of PDF Archive.
Document ID: 0000345407.