wizard oz730pc (PDF)
File information
Title: ManualsLib - Makes it easy to find manuals online!
Author: Provided By MANUALSLIB.COM - http://www.manualslib.com/
This PDF 1.4 document has been generated by pdftk 1.44 - www.pdftk.com / itext-paulo-155 (itextpdf.sf.net-lowagie.com), and has been sent on pdf-archive.com on 30/09/2016 at 18:57, from IP address 74.247.x.x.
The current document download page has been viewed 754 times.
File size: 765.8 KB (83 pages).
Privacy: public file


File preview
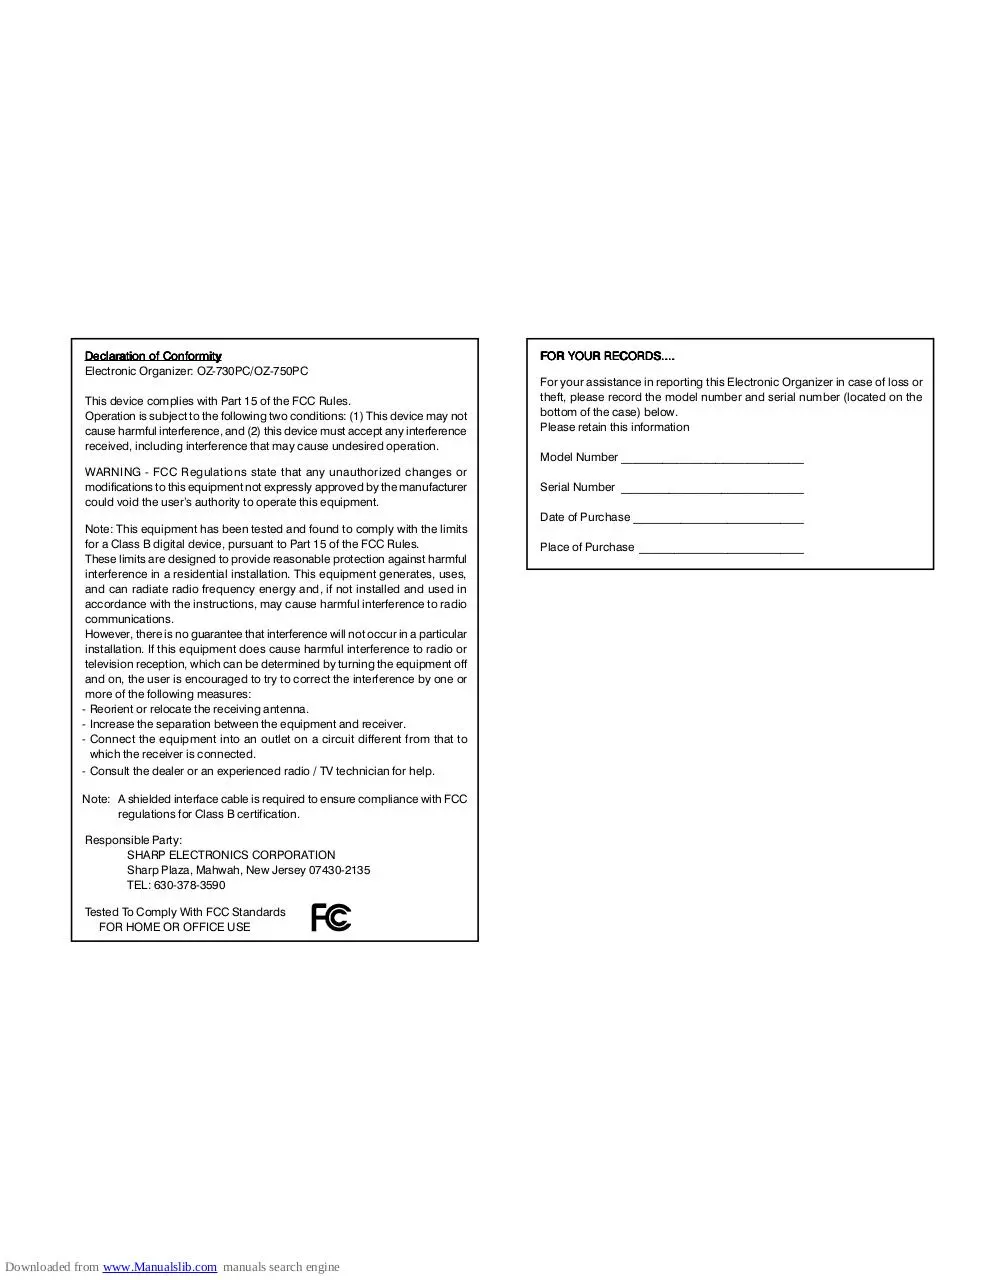
Declaration of Conformity
Electronic Organizer: OZ-730PC/OZ-750PC
This device complies with Part 15 of the FCC Rules.
Operation is subject to the following two conditions: (1) This device may not
cause harmful interference, and (2) this device must accept any interference
received, including interference that may cause undesired operation.
WARNING - FCC Regulations state that any unauthorized changes or
modifications to this equipment not expressly approved by the manufacturer
could void the users authority to operate this equipment.
Note: This equipment has been tested and found to comply with the limits
for a Class B digital device, pursuant to Part 15 of the FCC Rules.
These limits are designed to provide reasonable protection against harmful
interference in a residential installation. This equipment generates, uses,
and can radiate radio frequency energy and, if not installed and used in
accordance with the instructions, may cause harmful interference to radio
communications.
However, there is no guarantee that interference will not occur in a particular
installation. If this equipment does cause harmful interference to radio or
television reception, which can be determined by turning the equipment off
and on, the user is encouraged to try to correct the interference by one or
more of the following measures:
- Reorient or relocate the receiving antenna.
- Increase the separation between the equipment and receiver.
- Connect the equipment into an outlet on a circuit different from that to
which the receiver is connected.
- Consult the dealer or an experienced radio / TV technician for help.
Note: A shielded interface cable is required to ensure compliance with FCC
regulations for Class B certification.
Responsible Party:
SHARP ELECTRONICS CORPORATION
Sharp Plaza, Mahwah, New Jersey 07430-2135
TEL: 630-378-3590
Tested To Comply With FCC Standards
FOR HOME OR OFFICE USE
Downloaded from www.Manualslib.com manuals search engine
FOR Y
OUR RECORDS....
YOUR
For your assistance in reporting this Electronic Organizer in case of loss or
theft, please record the model number and serial number (located on the
bottom of the case) below.
Please retain this information
Model Number _______________________________
Serial Number _______________________________
Date of Purchase _____________________________
Place of Purchase ____________________________
Introduction
*
Introduction
Congratulations on purchasing the OZ-730/OZ-750 Electronic
Organizer.
Please read this operation manual thoroughly to familiarize
yourself with all the features of the unit and to ensure years of
reliable operation. You may also find it useful to keep this
operation manual on hand for reference.
Some of the accessories described in this manual may not be
available at the time you purchase this Organizer.
*
NOTICE:
*
SHARP strongly recommends that you keep separate
permanent written records of all important data. Data may
be lost or altered in virtually any electronic memory
Organizer under certain circumstances. Therefore, SHARP
assumes no responsibility for data lost or otherwise
rendered unusable whether as a result of improper use,
repairs, defects, battery replacement, use after the
specified battery life has expired, or any other cause.
*
SHARP assumes no responsibility, directly or indirectly,
for financial losses or claims from third persons resulting
from the use of this Organizer and any of its functions,
such as stolen credit card numbers, the loss or alteration
of stored data, etc.
*
The information provided in this manual is subject to
change without notice.
Check with your local SHARP dealer concerning availability.
All company and / or product names are trademarks and/or
registered trademarks of their respective manufacturers.
Day-Timer and Day-Timer Organizer are registered
trademarks of Day-Timers, Inc.
One of the models described in this manual may not be
available in some countries.
Some of the accessories described in the manual may
be unavailable in some countries.
Windows is a registered trademark of Microsoft Corporation.
Note:
*
The differences between OZ-730/OZ-750 are memory
capacity. Also, the OZ-750 Organizer has an optical
communication terminal (IrDA), while OZ-730 does not.
The remainder of the functions are common.
*
Unless otherwise specified, the text and material in this
manual applies to both models.
Downloaded from www.Manualslib.com manuals search engine
The screen examples shown in this manual
may not exactly match those of the product.
For example, although the field name is reversed
on the products screen, the field name on the
relevant screen in this manual may not be
reversed.
1
2
Contents
Contents
Introduction .......................................................................... 1
Contents ........................................................................... 2-3
Chapter 3
Time Management ................................. 23-30
The Calendar Application
The Schedule Application
The To Do Application
The Birthday / Ann (Anniversary) Application
Chapter 4
Creating Y
our Own Database ............... 31-32
Your
The Tel Application
Caring for the Organizer ...................................................... 4
Chapter 5
Memo ..................................................... 33-34
The Memo Application
Chapter 1
Getting Started ........................................ 5-12
Part Names and Functions
Getting the Organizer Up and Running
Setting up the Organizer after Initialization
Getting to Know Your Organizer
Chapter 6
Desk Accessories .................................. 35-42
The Calc (Calculator) Application
The Clock Application
Chapter 2
General Operation ................................. 13-22
Opening an Application - The First Main Menu
Selecting the Display Modes
Creating a New Entry
Editing an Existing Entry
Editing Techniques
Finding Specific Entries in Your Organizer
Deleting Entries
Checking the Time and Date
Checking the Memory
The Second Main Menu - the Organizers Basic Utilities
Downloaded from www.Manualslib.com manuals search engine
Chapter 7
Expense ................................................. 43-46
Entering Expense Record
Expense Report
Chapter 8
Features and Utilities for Added P
ower .. 47-50
Power
Copying or Moving Blocks of Text
Copying or Moving Entries
Special Characters
Chapter 9
Data T
ransfer ......................................... 51-54
Transfer
Transferring Data
Exchanging Information with a Personal Computer
Contents
Chapter 10 Personalizing Y
our Organizer ............... 55-60
Your
The Start-Up Display
Setting the Owners Information
Locking the Organizer
Changing the Calendar Display Format
Assigning Keys for short-cut entry
Selecting the Large Font View
Chapter 11 How to use the Add-on ......................... 61-62
Installing My Programs application
Setting a My Programs application to Autorun
Appendices .................................................................. 63-67
A. Resetting the Organizer
All reset operation
B. Battery Replacement
General guidelines
Replacing the operating batteries
C. Specifications
Index ............................................................................. 68-71
Product Support ................................................................. 72
Troubleshooting ................................................................. 73
Downloaded from www.Manualslib.com manuals search engine
3
4
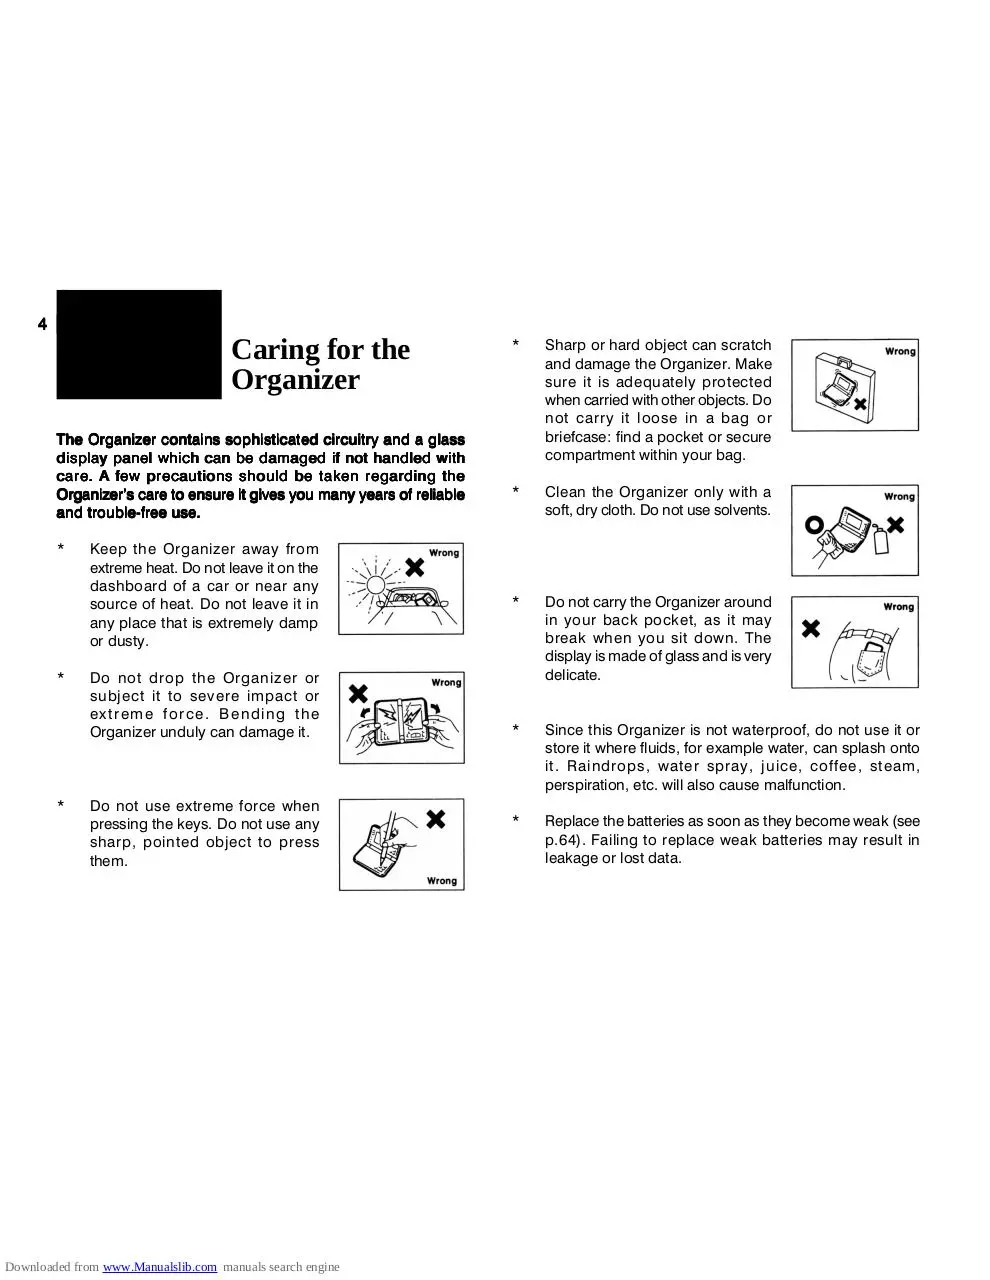
Caring for the Product
Caring for the
Organizer
The Organizer contains sophisticated circuitry and a glass
display panel which can be damaged if not handled with
care. A few precautions should be taken regarding the
Organizers care to ensure it gives you many years of reliable
and trouble-free use.
*
*
*
Keep the Organizer away from
extreme heat. Do not leave it on the
dashboard of a car or near any
source of heat. Do not leave it in
any place that is extremely damp
or dusty.
Do not drop the Organizer or
subject it to severe impact or
extreme force. Bending the
Organizer unduly can damage it.
Do not use extreme force when
pressing the keys. Do not use any
sharp, pointed object to press
them.
Downloaded from www.Manualslib.com manuals search engine
*
Sharp or hard object can scratch
and damage the Organizer. Make
sure it is adequately protected
when carried with other objects. Do
not carry it loose in a bag or
briefcase: find a pocket or secure
compartment within your bag.
*
Clean the Organizer only with a
soft, dry cloth. Do not use solvents.
*
Do not carry the Organizer around
in your back pocket, as it may
break when you sit down. The
display is made of glass and is very
delicate.
*
Since this Organizer is not waterproof, do not use it or
store it where fluids, for example water, can splash onto
it. Raindrops, water spray, juice, coffee, steam,
perspiration, etc. will also cause malfunction.
*
Replace the batteries as soon as they become weak (see
p.64). Failing to replace weak batteries may result in
leakage or lost data.
Getting Started
CHAPTER
1
Getting Started
This chapter explains everything you need to know to set up
and begin working with your Organizer, from installing the
batteries to initialization. The chapter also includes a labeled
illustration of the parts of the Organizer, and basic explanation
of its key features, from the keyboard to the display and its
symbols.
Part Names and Functions
Backlight key
Application keys
Starts appropriate applications
Display
Shows information, and is used for navigating the
various function
Power key
Turns on and off the unit
Page scroll keys
Quick press/release move up or down one record
at a time. Allows moving up or down one screen
at a time if held down for a length of time.
ESC key
Cancels an operation
Keyboard
For entry of characters, numbers and commands
4-pin cable jack
Connects 4-pin Communication Cable for PC
synchronization
Arrow keys
Menu key
Opens the Application Menu
Downloaded from www.Manualslib.com manuals search engine
5
1
6
Getting Started
Getting the Organizer Up and Running
Reset button
Initializes and resets
the Organizer.
Battery replacement switch
Locks the battery compartment
to prevent access to the batteries.
Installing the batteries
1.
Set the battery replacement switch on the bottom of the
Organizer to REPLACE BATTERIES (a red dot becomes
visible).
2.
Slide off the operating batteries cover.
3.
Insert two batteries on top of the ribbon tab, making sure
they are positioned correctly according to plus (+) and
minus (-) polarity, as shown below.
Operating battery compartment
Holds operating batteries.
Infrared port (OZ
-750 only)
(OZ-750
For wireless communication with
other OZ-750 Organizers.
4-pin Cable Jack
Connects 4-pin Communication
Cable for PC synchronization.
Downloaded from www.Manualslib.com manuals search engine
Getting Started
3.
Press
to initialize the Organizer.
The message Working... Please wait. appears while the
Organizer proceeds with the initialization procedure.
The Welcome message then appears.
Setting up the Organizer after Initialization
4.
Replace the cover.
5.
Set the battery replacement switch back to NORMAL
OPERATION (the red dot disappears).
The Organizer will not function unless the battery
replacement switch is in the NORMAL OPERATION
position.
Initializing
The Organizer must be initialized when it is used for the first
time.
key.
1.
Press and hold the
2.
While holding down the
key, push the RESET button
on the bottom of the Organizer using a pen or some other
pointed object. The following message will appear.
The Organizer takes you through the various steps needed to
set up the Organizer before use. These steps are described
below. We strongly recommend that you complete the entire
set up procedure before starting to actually use your Organizer.
*
*
*
Welcome messages and instructions
Setting the display contrast
Setting the clock
Welcome messages and instructions
After pressing
to confirm initializing the unit, the Organizer
displays the following welcome message, briefly outlining its
functions.
Press
to proceed to the Basic Instruction screen. Press
again to proceed with Display Contrast setup screen.
Downloaded from www.Manualslib.com manuals search engine
7
1
8
Getting Started
Press
Setting the Display Contrast
If the display is not clear, press
satisfactory.
or
until the display is
Press
to proceed with setting up the Clock as described
below (or
to quit the set up procedure).
to proceed with setting the Time and Date.
Setting the Time and Date
After selecting the city, the ADJUST TIME / DATE screen
appears.
Setting the City
In order to make sure that the Calendar, Schedule and other
time-based applications work correctly, the built-in clock must
be set to the correct time, date and city. When this Organizer
is first initialized, the city is automatically set to New York. Before
setting the Clock, you should first select the city for which you
want to set the time.
After setting the Display Contrast, the following list of cities
appears.
1.
If the desired city does not appear, press
more cities.
Select the desired city by moving the cursor to it and then
to confirm. Or select numbers
directly.
press
Downloaded from www.Manualslib.com manuals search engine
Select the time system you want the clock to use by
or , then press
or .
pressing
2.
In the LOCAL DATE field, press
to display the pop-up
and
to select the current month,
calendar. Use
then use the arrow keys to select todays date.
3.
once and the date has been selected. The popPress
up calendar disappears and the date now appears in the
LOCAL DATE field.
4.
Press
to move to LOCAL TIME field. Enter the local
time, preceding single-digit hours and minutes with 0.
Press
to select PM or
for AM.
to display
You can jump to a particular city by pressing the first
letter of that country name.
2.
1.
Press
5.
to proceed to the Daylight Saving Time screen.
If your city is currently on Daylight Saving Time, press
(Yes), otherwise press (No), then press
to confirm.
A new screen then appears to inform you that the basic setup
Download wizard oz730pc
wizard_oz730pc.pdf (PDF, 765.8 KB)
Download PDF
Share this file on social networks
Link to this page
Permanent link
Use the permanent link to the download page to share your document on Facebook, Twitter, LinkedIn, or directly with a contact by e-Mail, Messenger, Whatsapp, Line..
Short link
Use the short link to share your document on Twitter or by text message (SMS)
HTML Code
Copy the following HTML code to share your document on a Website or Blog
QR Code to this page

This file has been shared publicly by a user of PDF Archive.
Document ID: 0000489681.