Button Sewing (PDF)
File information
This PDF 1.4 document has been generated by Google / , and has been sent on pdf-archive.com on 11/04/2018 at 01:44, from IP address 76.183.x.x.
The current document download page has been viewed 422 times.
File size: 494.61 KB (18 pages).
Privacy: public file


File preview
SEWING BASICS: HOW TO
SEW ON A BUTTON
STEP 1: MATCH BUTTON AND
THREAD
•
Select a suitable button and thread that matches
the button, the garment, and any thread used to
sew on other buttons.
●
●
If you have a button pop off and you can't take care of it
immediately, use a safety pin to hold the garment closed and
be sure to keep track of the button. It's best to use the original
button if you have it.
Make a place to keep track of the extra buttons that come in
baggies with new garments, if they're not sewn into an inner
seam somewhere. Label the buttons if you can.
STEP 2: THREAD THE NEEDLE
•
If you like, you can double the thread to make
this job quicker. Simply pull it through the
needle so that there is an equal length of thread
extending from both sides.
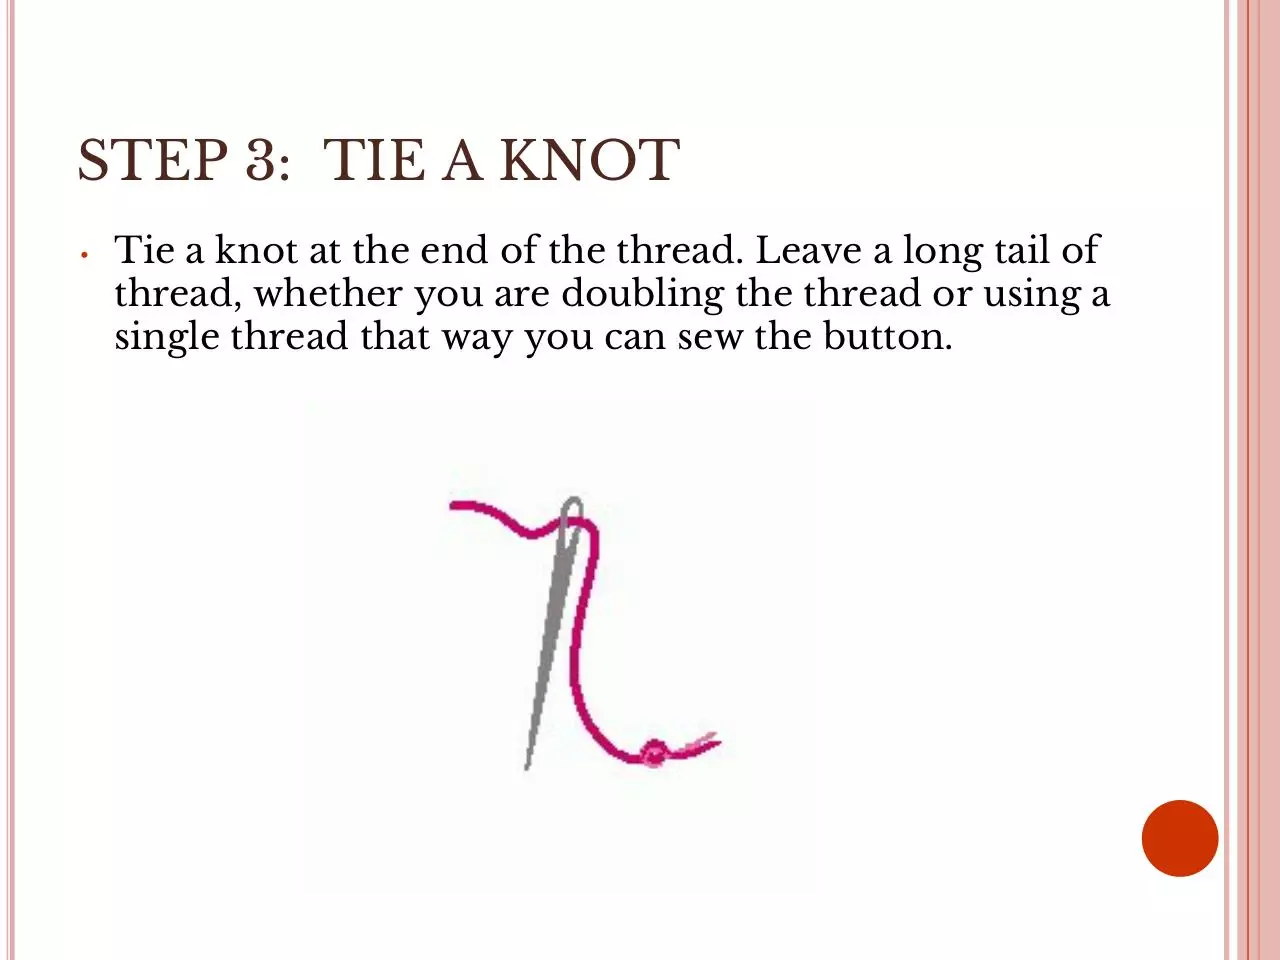
STEP 3: TIE A KNOT
•
Tie a knot at the end of the thread. Leave a long tail of
thread, whether you are doubling the thread or using a
single thread that way you can sew the button.
STEP 4: POSITION
•
Position the button on the fabric. Line the
button up with the other buttons on the
garment.
●
●
Check the buttonhole. Close the opposite flap or
panel where you want it and make sure that the
button lines up with the buttonhole.
If the button was on correctly before, you can
often go by the little holes in the fabric where
the button used to be. You can see the pinholes
alongside the button in the photo.
STEP 5: PUSH AND PULL
•
Push the threaded needle up through the
fabric and through one hole in the button.
Pull the thread all the way through on each
stitch.
STEP 6: CREATE SOME SLACK
•
Place a pin or toothpick across the center of the button and
hold it there until the next stitch helps keep it in place.
When the pin is withdrawn later, it will allow the slack
necessary to create a "shank" so that there will be space
between behind the button for the material that will need
to go there when the garment is buttoned.
STEP 7: FIRST STITCH
•
Push the needle down through the next hole and through
the fabric. Still holding the pin in place, pull the thread all
the way through. Once that is done, the pin will be kept in
place by the thread. In this photo, the button was lifted up
to show what's going where, but it's best to hold the button
in place so it does not move.
MORE BUTTON EXAMPLES
•
•
On a 4-hole button
choose the one
diagonal to the first
hole if you want the
threads to cross in an
"X" formation.
If you want two parallel
lines of thread showing,
choose the next hole
that is opposite the
first.
Download Button Sewing
Button_Sewing.pdf (PDF, 494.61 KB)
Download PDF
Share this file on social networks
Link to this page
Permanent link
Use the permanent link to the download page to share your document on Facebook, Twitter, LinkedIn, or directly with a contact by e-Mail, Messenger, Whatsapp, Line..
Short link
Use the short link to share your document on Twitter or by text message (SMS)
HTML Code
Copy the following HTML code to share your document on a Website or Blog
QR Code to this page

This file has been shared publicly by a user of PDF Archive.
Document ID: 0000755312.