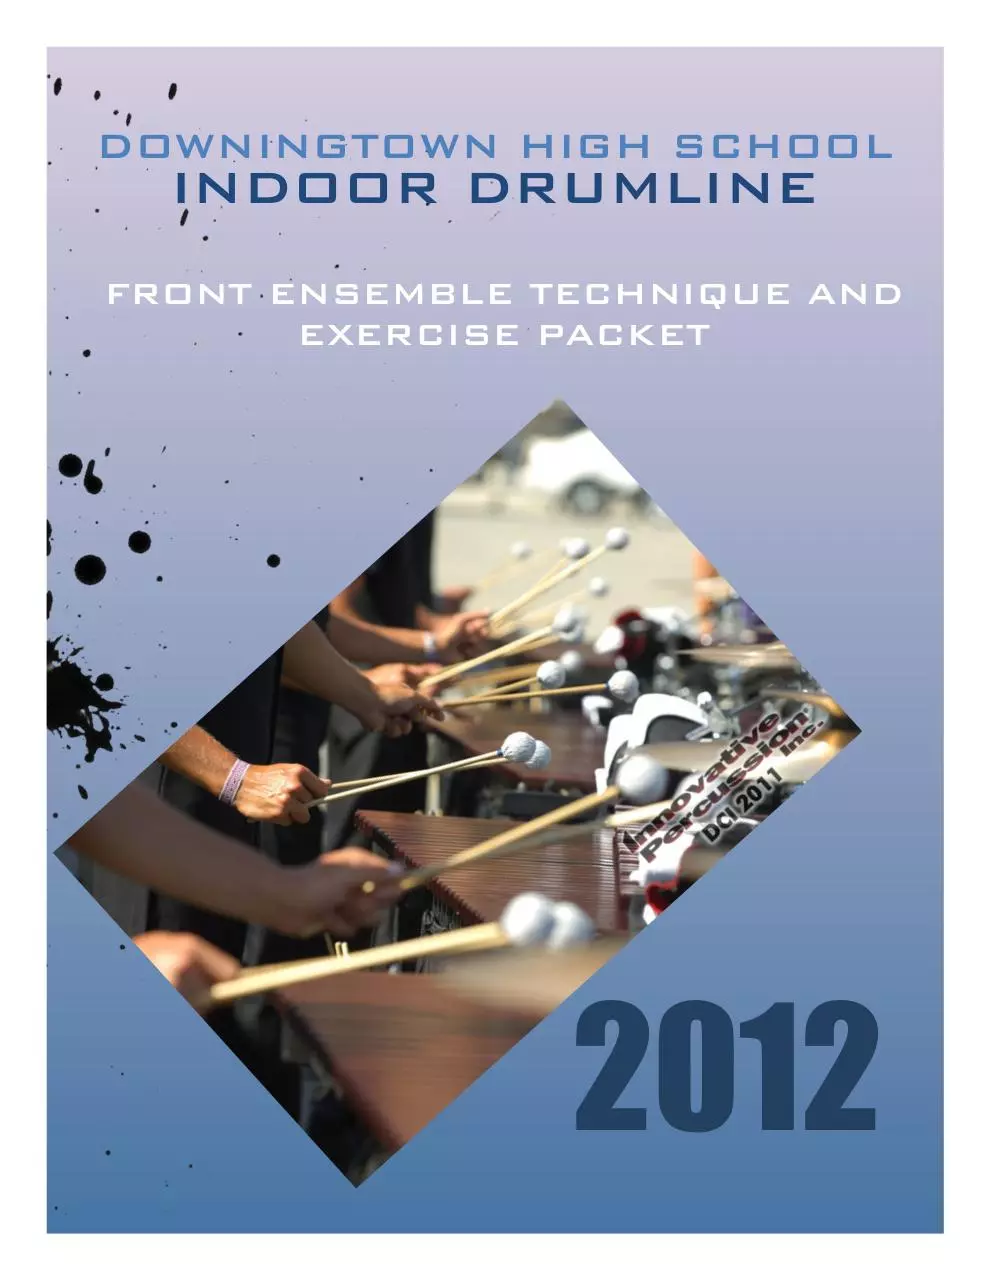
DOWNINGTOWN HIGH SCHOOL
INDOOR DRUMLINE
FRONT ENSEMBLE TECHNIQUE AND
EXERCISE PACKET
2012
�
Table of Contents
Program Overview
Expectations
.......................................................... 3
.......................................................... 3
General Methods and Techniques ................................. 5
The Technical Approach
...................................... 5
2 Mallet Technique ............................................ 7
4 Mallet Technique ............................................ 8
Synthesizer
.................................................11
Bass & Guitar .................................................12
Drum Set
.................................................12
Percussion Rack
..........................................12
Musical Standards
..........................................13
The Mental Approach
..........................................14
Care For Equipment
The Truck
.................................................15
.....................................................................15
Conclusion .....................................................................15
Exercise Packet ..............................................................16
Legatos .....................................................................16
8 on a Hand .............................................................17
16th Note Timing ......................................................17
Accent Tap ...............................................................17
Accented 16ths .........................................................18
Triplet Exercise ......................................................19
2
�
PROGRAM OVERVIEW
Thank you for your interest in the 2012 Downingtown Indoor Percussion Ensemble! In
the following pages you will find definitions of technique and proper etiquette in addition to
exercises that the ensemble will be using throughout the 2012 season. The purpose of this
ensemble is to increase and enhance your knowledge of music, being a musical performer,
and to continue to improve upon the level of excellence that has been set within the ensemble
prior to the 2012 season. As you begin to explore the exercises in this packet, you will notice
that each exercise has been designed to utilize specific areas of the defined technique. During
the audition process we will be isolating specific techniques to help you understand all of the
defined techniques. There is no need to stress when working on the materials presented to
you. You must always remember to keep a positive attitude and if at any time you have a
question or concern please email Josh Lawrence (jlawdrummer@yahoo.com) or Trish Witt
(trishwitt@verizon.net).
EXPECTATIONS
The Downingtown Indoor Percussion Ensemble rehearses two nights a week and every
Saturday unless otherwise noted on the schedule, starting in November and lasting through
most of April. Please consult the schedule you were given for rehearsal and audition dates.
Competitions are included on the schedule and start Saturday, February 18. ATTENDANCE
IS MANDATORY!!! Any conflicts with the current schedule must be brought to the attention of
the staff IMMEDIATELY! Please make sure you have cleared any and all conflicts and refer to
your member handbook for the list of acceptable absences. Remember that your absence will
impact not only yourself but the entire ensemble as well.
A three ring binder will be required at each and every rehearsal. Your binder must
include this packet, a pencil, and plastic sheets that will hold all of your exercises and your
2012 show music.
3
�
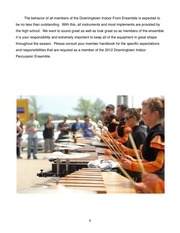
The behavior of all members of the Downingtown Indoor Front Ensemble is expected to
be no less than outstanding. With this, all instruments and most implements are provided by
the high school. We want to sound great as well as look great so as members of the ensemble
it is your responsibility and extremely important to keep all of the equipment in great shape
throughout the season. Please consult your member handbook for the specific expectations
and responsibilities that are required as a member of the 2012 Downingtown Indoor
Percussion Ensemble.
4
�
GENERAL METHODS AND TECHNIQUES
With regular practice of the following program, you will improve both as an individual
and as a member of your ensemble. Remember, it is your responsibility to practice the
program concept as outlined on these pages.
Always consider the following points when rehearsing on your own and as an ensemble:
•
Always practice with a metronome, “practice makes permanent!” NEVER practice bad
habits.
•
Record yourself or play in front of a mirror, paying particular attention to your style,
technique, and overall visual presentation.
•
Practice frequently and consistently to build confidence with each piece of music and for
constant improvement.
•
Practice the parts slowly at first; speeding only after you are sure you are playing them
correctly.
THE TECHNICAL APPROACH
It is often a practice to put weaker, inexperienced players in the front ensemble.
However, the evolution of the front ensemble as a tool to accommodate the highly innovative
and complex compositional styles of todayʼs arrangers, calls for a high level of excellence in
musicianship. Over the course of the season, members of the front ensemble will be expected
to develop exceptional timing, mastery of tempo, rudimental skills comparable to the battery,
and the ability to understand and adjust to musical tendencies both within the front ensemble
and within the entire percussion ensemble.
The following information is a guide to the Downingtown Indoor Front Ensemble
technique. It is not a universal technique for front ensembles, as styles vary depending on the
ensemble. However, it is the techniques we will use in our ensemble. A uniformity of
approach will ensure a uniform quality of sound and set us up for the highest level of
excellence. It is the responsibility of the member to understand and apply the following
concepts.
5
�
I. POSTURE
Proper posture is one of the most important aspects of the technique and can be
maintained by understanding and applying the following:
a. Standing with feet shoulder width apart and your knees slightly bent to enable us
to move freely while playing.
b. Adjusting the keyboard to the proper height for you, the player.
c. Keeping your mallets within the defined set position.
d. Keeping your shoulders square and your head up, maintaining a facial
expression of both confidence and relaxation.
e. Exhibiting absolute commitment to your visual responsibilities.
f. Exhibiting a sense of undeniable confidence while behind your instrument.
6
�
TECHNIQUE (continued)
II. COMMANDS
a. Set Position (“Set”)
i. All members will stand with proper posture with mallet heads placed over
the key where you are starting (playing position). The mallet heads will be
at a pre-determined height above the instrument.
ii. This position also implies you are not talking, and are prepared to play the
instructed music.
b. Receiving Position (also called “Stand-by”)
i. Members will stand with arms down relaxed to the sides with
sticks/mallets still in hand.
ii. Head and eyes of all members are directed towards the press box or
bleachers where instructions and assignments will be given.
iii. Members will not speak unless answering a specific question asked by an
instructor.
c. Tap Off (prep)
i. One member will give two preps followed by the two preps by the
ensemble prior to an entrance.
ii. During full ensemble rehearsal, the metronome will give 8 counts before
beginning the assigned instruction. In this case the prep will be adjusted
accordingly.
III. 2 MALLET TECHNIQUE
The grip used for two-mallet technique is identical for each hand and is VERY relaxed.
The shaft of the mallet will be placed in the palm of your hand and your bottom three fingers
will be used to grip the mallet and will remain closed into the palm. Your pointer finger and
thumb will line up directly, leaving no more than one inch of the mallet sticking out of the back
of your hand. The index finger will be slightly relaxed.
The stroke we will use is comprised of ninety percent wrist motion, while the remaining
ten percent comes from the arm as an extension of the full wrist stroke. This stroke is called
the ʻPiston Strokeʼ and is a type of stroke where the starting and stopping points are the same.
7
�
This point is for the vertical motion and does not include the horizontal motion when moving
across the keyboard, achieved during the return (up) stroke, which is called a ʻshiftʼ. Proper
execution of the piston stroke will not create any wasted motion. The piston stroke and the
shift will both be utilized in 2 and 4 mallet techniques.
IV. 4 MALLET TECHNIQUE
All mallet players will use the same 4-mallet technique called Stevens grip. This grip
allows the players to be most efficient with interval changing and consistency and allows for a
uniform approach across the keyboard section.
The grip and the process of setting the grip will be the same for both hands. The
following is a break down of how to correctly hold the mallets and the role of each finger. To
start, the wrist needs be in a ʻhandshakingʼ position with the thumb facing the ceiling.
a. ROLES OF EACH FINGER
1. Index finger - acts as a "table-top" for the inside mallet to rest on. It is important
that the tip of the index finger always points across your body, not into your body.
2. Thumb - forms fulcrum point with index finger by slightly "pinching" the mallet
shaft between the index and thumb. The role of the thumb is to keep the mallet
from sliding off the "table".
3. Middle finger - performs the "Spiderman move”. This finger bends into your palm
and makes contact with the mallet shaft where the tip of the mallet touches the
palm. The role is to keep the tip in contact with the palm.
4. Ring and Pinky finger - wrap around the outside mallet to keep the mallet in
place. It is important to understand this is the ONLY role for these fingers: to
simply keep the mallet in place.
8
�
b. STROKE TYPES
With any 4-mallet technique, the strokes can be simplified into two choices: when
both mallets in your hand play together or when only one mallet plays. All other types of
strokes and combinations of strokes stem from these two possibilities.
1. DOUBLE VERTICAL STROKES
Follow the same guidelines for the 2-mallet piston stroke. Both mallets in a
single hand play notes at the same time. This stroke should be played primarily with the
wrist. In order to check to see that you are turning your wrist correctly, you should see
your wrist “pop” up as the mallets strike the bars. This wrist pop should NOT be
exaggerated; it is a natural result of performing the stroke correctly with the wrist.
Gradually, we will learn to incorporate the arm into the stroke. The mallets should travel
straight up and down without any side-to-side motion. Make sure to keep your fingers
relaxed!
2. SINGLE INDEPENDENT STROKES
We will primarily be using this stroke type for mallets 2 and 3 (the inside mallets).
One mallet plays at a time while holding 4 mallets. The set position will be the same as
Double Verticals. The playing position will be achieved by rotating the “active” around
the unused mallet (i.e.: mallet 3 will rotate around mallet 4). In order to develop
independence, in this case, with the inside mallets, it is important to keep the outer
mallets as still as possible. The outer will be defined as being half the height of the
playing position. In order to achieve this DONʼT USE ANY TENSION!! Relaxed fingers
act as shock absorbers – tension will cause the outer mallets to twitch vertically and/or
horizontally. Make sure that you keep your index finger and thumb firm, but relaxed.
This will help to keep control of the inside mallets.
3. SINGLE ALTERNATING STROKES
This stroke type is closely related to the Single Independent stroke, but without
concern for motion in the other mallet. The set position and playing position are the
same as in the Double Vertical stroke. As one mallet strikes the bar, the other mallet
will raise slightly. Be sure to not simply rotate the wrist: instead, think of the pivot point
as bouncing from one mallet to the next. This will allow us to control the articulation,
rhythm and dynamic of each mallet. It is important to note that TEMPO is a major
9
�
determining factor for what a Single Alternating stroke TURNS INTO a one-handed roll
motion. As the tempo increases, the ability to control each mallet will decrease, until the
motion is solely a rotation of the wrist.
4. DOUBLE LATERAL STROKES
Double lateral strokes should not operate like the other 3 stroke types. The goal
here is to produce TWO strokes through ONE hand motion. Again, the set position and
playing position are the same as a Double Vertical stroke. In the case of the outside
Double Lateral stroke, play as if you were going to perform a Single Independent stroke
(the outside mallet will strike the bar first) and then rotated your wrist counter-clockwise
to strike the bar with your inside mallet. The motion of your wrist should be similar to
turning a doorknob. In order to achieve a consistent sound from mallet to mallet, you
will need to use a lot of “torque” in your wrist. Also, be sure to keep your index finger
and thumb firm, but relaxed!
c. COMMON PROBLEMS
1. Index finger pushing in towards palm
When this occurs, the inside mallet is shoved into the palm causing that sore
spot in the center of the hand. Keep in mind that the only role for the index finger is to
supply a place for the inside mallet to rest on (“table-top").
2. Forceful thumb
Often, young players think that the thumb is responsible for the downstroke
during an inside rotation stroke. You will notice "white knuckles" on the thumb. The
power of the stroke needs to come from the wrist, not the thumb or fulcrum point. The
only role of the thumb is to keep the mallet shaft in place on top of the index finger.
3. Ring and Pinky finger performing the stroke
This is the most dangerous. These fingers ARE NOT responsible for producing
the upstroke or downstroke for the outside mallet. The twisting of the wrist does that.
Many students flex their two small fingers to help produce the stroke, and all this is
doing is putting extra strain on the small tendons and muscles in the hand.
4. Not twisting the wrist during the rotations
10
�
When the single independent or rotation strokes are not properly performed, the
non-playing mallet ends up bouncing out of control. This is the main cause of the
blisters between the middle and ring fingers. When the rotations are used correctly, the
axis of the rotation ends up being that non-playing mallet. When this occurs, the
"bouncing" of the mallet stops, and the blisters do not form.
If you are auditioning for a Keyboard position: Marimba/Vibes/Bells/Xylophone, look over the
warm-ups in the packet. Be prepared to know designated Major/Minor scales (will be
designated during rehearsals prior to auditions). You should be able to work through 4-mallet
permutations such as: 1234, 4321, 2341, 3214, 3412, 2143, 4123, 1432.
Also be able to demonstrate Single Independent strokes, Single Alternating strokes, DoubleVertical strokes, and Double-Lateral strokes. Be able to demonstrate our 2-mallet technique
as well.
It is important that you are aware of the technique that has been defined and that you
are always working to apply the technique to the audition material/warm-ups/show.
SYNTHESIZER
Be able to play all 12 major and any other designated scales (to be designated during
rehearsals prior to auditions). Prepare all synthesizer parts in the audition materials at various
tempos and do your best to learn the keyboard part on exercises that do not have a specific
synthesizer part. Tempo control and timing is very important! Please prepare a short 1-2
minute etude that showcases your range of abilities.
11
�
BASS & GUITAR
Be able to play all 12 major and any other designated scales (to be designated during
rehearsals prior to auditions). Prepare all bass parts in the audition materials a various tempos
and do your best to learn any bass lines in the keyboard parts that do not have a specified
bass part. Tempo control and timing is very important! Both picking and plucking will be
required, preferably demonstrated in the short 1-2 minute etude you will need to have prepared
that showcases your range of abilities.
DRUM SET
Be able to read music, demonstrate musicianship, and demonstrate tempo control. Be
ready to demonstrate various styles, keeping consistent tempo, and providing a great feel for
the ʻpocketʼ throughout the styles. The warm-up routine for this player will include rudimental
and rhythmic permutation exercises, in addition to stick control, and various grooves and styles
played to help the keyboards practice their listening skills. The ideal performer will show a
willingness to work with the entire ensemble, and will understand their role in the larger
ensemble.
PERCUSSION RACK
If you are auditioning for an auxiliary percussion spot (rack percussion) it is required that
you are comfortable with all percussion instruments including concert snare/toms, concert bass
drum, cymbal effect parts, and playing instruments such as xylophone, bells, and chimes. The
defined two-mallet technique will be required. Be able to read music, demonstrate
musicianship, and demonstrate tempo control. The warm-up routine for these players will
sometimes include playing along with the keyboards. Other times will be spent on stick
control, rudimental and rhythmic permutation exercises.
12
�
MUSICAL STANDARDS
I. Dynamic Range and Levels
-Your mastery of the full dynamic range and levels must be complete. It is the
expectation that every stroke be played with a consistent, strong velocity to ensure the
only variable determining dynamics is the height of the sticks and mallets.
pp
-1½ inches
p
-3 inches
mp
-6 inches
mf
-9 inches
f
-12 inches
ff
-15 inches
fff+
-18+ inches
II. Tempo
You must know the correct tempi and demonstrate them when practicing individually
and rehearsing with the ensemble.
III. Reading Skills
It is understood that not all members of the front ensemble are able to read music at
equal levels. However, it is our expectation that the development of these skills will continue
throughout the season.
IV. Quality of Sound
The quality of sound we will create at the Downingtown Indoor Percussion Ensemble
can be achieved only through:
a. Listening to the other players in your section and ensemble
b. Balancing your sound and making sure it is blended with the others in your
section
c. Using velocity within each stroke
d. Maintaining an intelligent sense of touch at all times
13
�
THE MENTAL APPRAOCH
The proper mental approach is easy to explain, but difficult to develop. The following
points are only a brief outline of the process but are key to figuring out the approach:
A. Keep your mind open and your attitude positive
B. Be ready to concentrate collectively (as an ensemble) on the same thing for
extended periods of time, without breaks
C. Discipline yourself and push yourself to get better every day
D. Know the process and the program
E. Understand the process and the program
F. Apply the process and the program
How You Feel When You Are Playing
•
Relaxed
•
Strong
•
Confident
•
Let the Mallets (and/or sticks) feel ʻheavyʼ in your hands- let the weight do most of the
work.
•
The stronger a player you are and the more chops you possess, the more efficient you
become. Hence, the more relaxed you are.
•
Learning to breathe naturally while playing anything, regardless of demand, will result in
a more relaxed, healthy sound and approach.
•
When in doubt, listen to what you are playing in order to correct issues.
14
�
CARE FOR THE EQUIPMENT
The instruments are to be treated with the finest care at all times. Nothing is EVER to
be placed on top of the keyboards or timpani for any reason short of mallets, sticks, and of
course the instrument covers. Instruments are to be covered at all times when they are not
being played. Sticks and mallets are never to be placed on the ground/floor. No one outside
of the pit membership is to play any pit instrument at any time without permission from an
instructor or the pit section leader. Every time an instrument is moved all screws and moving
parts must be checked/tightened before and after it is moved.
THE TRUCK
Loading and unloading the truck is something that develops into a routine over the
course of the season. Depending on the number of veterans in the group this may or may not
take a lot of time. Jobs will be assigned, speed and care will be important. Instruments must
be loaded onto the truck thoughtfully and carefully with consideration to the endurance of
highway speeds and rough roads. The truck must be unloaded with efficiency and
organization. All instruments are to be lined up neatly such that we look good even when
nothing has been put together yet. This goes all the way down to folding instrument covers
and stacking them neatly.
CONCLUSION
The program defined in this packet is key to a unified and cohesive percussion
ensemble. Be assured each and every one of the aforementioned concepts will be discussed
in much greater detail throughout the rehearsals and over the course of the entire season and
seasons in the future.
The task you are about to undertake is a formidable one, and will require an
unparalleled amount of self-discipline and dedication on your part. However, if you stick to the
program, you will find that your experiences with the percussion ensemble are positive,
educational and fun! In short, you will have successfully accomplished your mission of
becoming a better percussionist.
15
�
DTown Legatos/1
Witt/Lawrence
Played in All Keys
Marimba
$$$ $$$$$$$$ $$$ $
!
$ $$ $$ $$ $ $ $ $ $ $ $ $ $ $ $ " $ $ $ $$ $ $$ $$ $$ $$ $$ $$ $$ ! $$ $$ $$ $$ $$ $ $$ $
$
$
#!
$ $
!
!
$$$$$$$$ $$$$$$$$
$$$$ $
$
$
$
$
# $ $ $ $ $ $ $ $ $ $ $ $ $ $ $ $ $$ $$ $$ $$ $$ $$ $$ $$ $$ $$ $$ $$ $$ $$ $$ $$ $ $ $ $ $ $ $ $
$$ $ % &
$ $ $ $ $ $ $ $ $ $ $$$$
6
DTown Legatos/2
$$$$$$$$
# $$$$$$$$ $$$$$$$
$$$ $$$$$$$$
$
$
$
$ $$$$$$$$ $$
18
$$$$$$$$ $$$$$$$ $
$
$$$$ $
# $ $ $ $ $ $ $ $ $ $ $ $ $ $ $ $ $ $ $ $ $ $$ $ $$ $ $ $ $ $ $ $ $ $ $$ $$ $$ $$ $$ $$ $$
$$$$$$$$ $
13
R
L
$
$ $ $ $ $ $ $ $ $ $ $ $ $ $
$
# $ $ $ $ $ $ $ $ $ $ $ $ $ $ $ $
27
$$$$ $$$$$$$
$
$
# $$$$$$$$ $$$$$$$$ $$$
$$$
$ $$
23
$ $ $ $
$ $ $ $ $ $ $ $
$ $ $ $
$ $$$$
$$$$$ $$$$
$$$$
Copyright © 2012 DTown Indoor
16
$ $ $ $ $
$ $ $ $ $ $ $ $
$
$ $
$$$$ $
$$$$ $ % &
�
8 ON A HAND
2
! """"""" """""""
"
"
""""
! " """"""" """"""""
""""""""
25
R
30
L
Var. 1 Can be alternated at faster tempi
R
L
R
""""
R
" """"
""" " # »
L
R
$
"""""""" " # »
L
R
! " " "" "" "" " "" " " " " " """""""" " " " " "" "" " " " " " " " " """""""" " # »
Var. 2
R
Even strokes, no pulsation from note to note
RLRLRLRL
RLLL
LRLRLRLR
L
16th NOTE TIMING
Var. 1 Fill in all the notes in each rhythm pattern
! " " " """ " """"" " " " """ """" "" " " " """ " """"" " " " """"""""" " # »
RLR
RLL
RRL
LRL
R
! """""""""""""""" """""""""""""""" """""""""""""""" """""""""""""""" " # »
12" - 3"
45
50
!
%%
%%
ACCENT TAP
"
" "
"
"
"
"
"
"
" " " " " " " &"""&"&" &"""&""" &"""&"&"
&R l r l &R
%
# »
"
!% "
"
"
"
"
& " " " & " " " & " " " & " & " & " " " &" " " " " " " " " " " " "
&
&
&
54
% &" " " " " " " " " " " " " " " " " " " " "
%
!
"
"
"
&
&
"
& &" &"
&
&
L r l r L
63
% " " " " " " " " " " " " " " " " " " &" " " " &" " " "
%
!
" " &"
"
"
&
"
&
&
&
&
&
59
Var. 1
17
"
"
" "
& &
&
" # »
"
�
3
"
Var. 2 Accent Tap
#
#
#
#
#
#
#
####$### $#####$# $###$### $#####$#
$
$L
$L
R l r l R l r l
R
R
R
R
R
R
72
"
& » %"
#
!" #
#
#
#
$ # # # $ # # # $ # # # # # $ # $ # # # $# # # # $# # # # # # # # #
$L $R $R
$L R R
R
R
R
R
R
!"
68
ACCENTED 16ths
!" # # # # # # # # # # # # # # # # # # # # # # # # # # # # # # # #
$
$
$
$
$
$
R
R
R
L
R
L
79
$
#
#
#
#
#
#
& »
! " # # # # # # # # # # # # # # # # # '# # '# # # %# # '# # '#
$ $ $ $ $ $ $
R
L
R
R
L
R
R
R
Var. 1 - add last measure/chromatic run on to the end, same as original version...
! " ################ ################ ###############
$
$
$ $
$ $
$ $ $ $ $ $
82
Var. 2 - even 16th notes, especially at larger interval distance
! " ################ ############# ################ ################ # & »
85
18
�
Triplet Exercise
Marimba
Witt
!
#
#
" ! ############ ############ $#%# # # ##$#%# # # ## ##&# ## ##&# ##
3
3
3
3
3
3
3
3
3
3
3
3
3
3
3
3
#
#
$#
#
#
#
" $# # # # # #$# # # # # # # #&# # # # #&# # # # # # # # # # # # # # #&# # # # #&# # #
5
Mar.
3
3
3
3
3
3
3
3
3
3
3
3
3
3
3
3
3
3
3
3
3
3
# ## ##
# ## ##
# &# # # &# # &# #
#
#
#
$
#
#
#
$
#
## # ## ## # ##
#&# #&# #$# #$# # #$#
"
#
#
9
Mar.
3
3
3
3
3
3
3
3
3
3
3
&# # # #3 #&# # # ##
# # # # # # ## # # # # # # # # # # # # &# # # # #&# # # # #
#
#
"
#
#
$#
$#
$#
$#
13
Mar.
3
3
3
3
3
3
3
3
3
3
3
3
3
3
17
Mar.
" # # #$# # # # # #$# # # &# # # # # #&# # # # # # # # # # # # # # # # # #
3
20
Mar.
3
3
3
3
3
6
3
3
3
6
6
#
#
&
#
#
&
#
"
# &# # # &# # &# # $ # %# $# %# # $# %# $# %# $# %# #
6
19
3
3
'
3
(
�
 Historical archive . public document