iOS: IMAP Manual Configuration
This article will assist you with setting up an Apple iOS mobile device, using IMAP, for your Hosted
Mailbox.
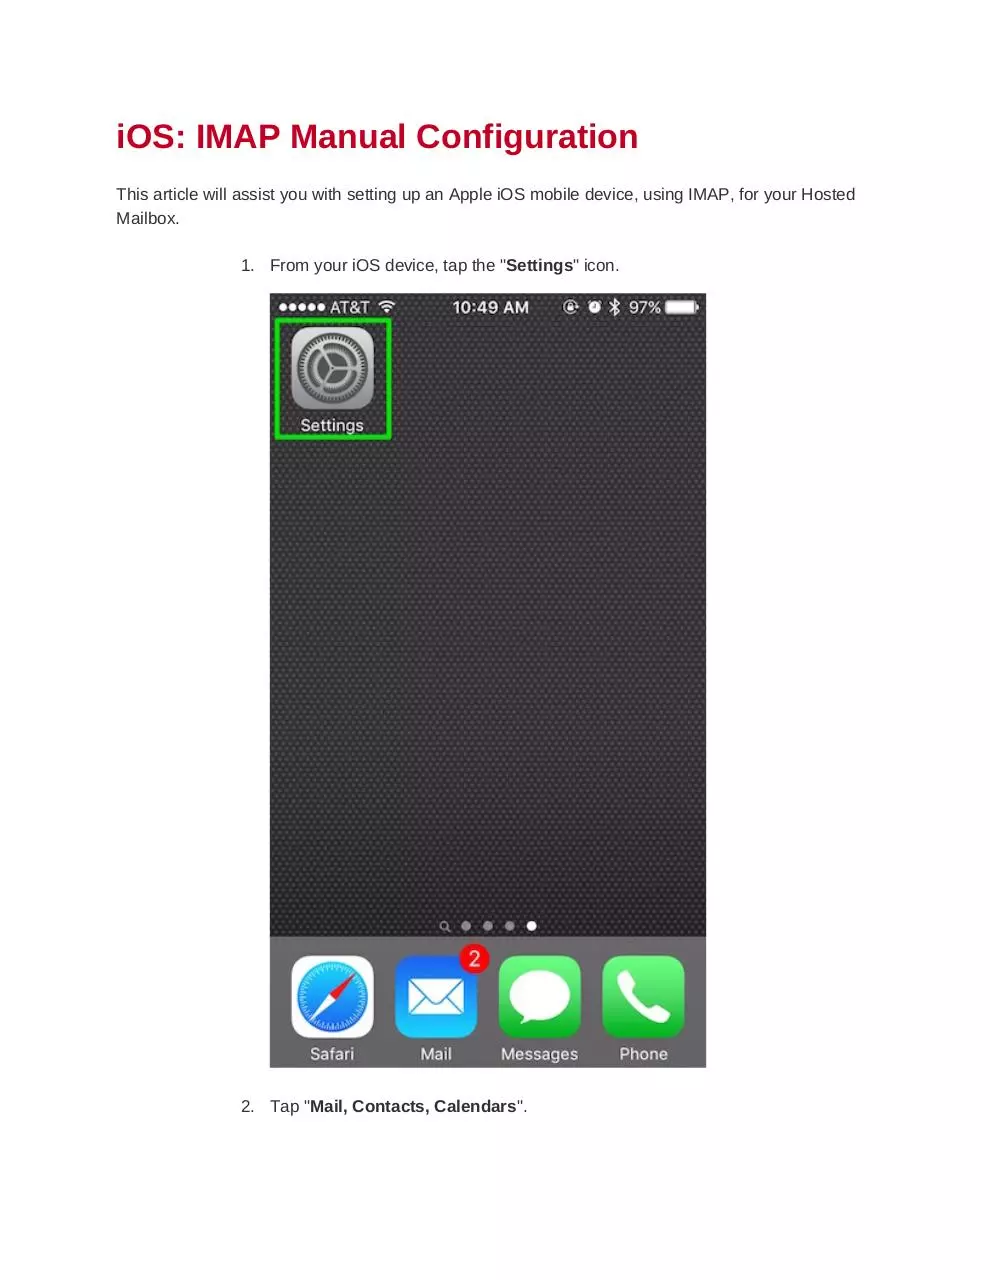
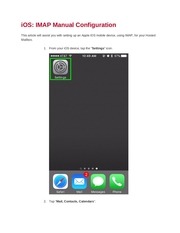
1. From your iOS device, tap the "Settings" icon.
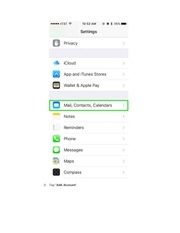
2. Tap "Mail, Contacts, Calendars".
�
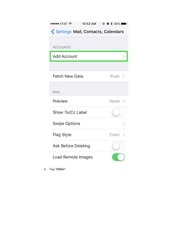
3. Tap "Add Account".
�
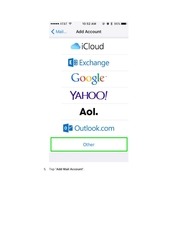
4. Tap "Other".
�
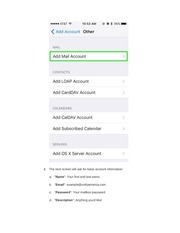
5. Tap "Add Mail Account".
�
6. The next screen will ask for basic account information:
a. "Name": Your first and last name.
b. "Email": example@unifyamerica.com
c. "Password": Your mailbox password
d. "Description": Anything you'd like!
�
7. Tap "Next". You should briefly see an alert at the top that states it is verifying.
8. On the next screen ensure "IMAP" is selected, then enter the following
information:
a. "Name": Your first and last name.
b. "Email": example@unifyamerica.com
c. "Description": Anything you'd like!
�
" Incoming Mail Server "
d. "Hostname": secure.emailsrvr.com
e. "User Name": example@unifyamerica.com
f.
"Password": Your mailbox password
" Outgoing Mail Server "
g. "Hostname": secure.emailsrvr.com
h. "User Name": example@unifyamerica.com
i.
"Password": Your mailbox password
9. Tap "Next".
�
10. In the next screen, select the items you wish to sync.
11. Tap "Save".
12. Now you're done! Launch the Mail app. Your email should appear within a few
minutes, depending on the amount of items to sync.
We highly recommend configuring your iPhone to sync your various IMAP folders. Below are the
steps to do so.
1. Within the "Mail, Contacts, Calendars" settings window, select the account that
you just added.
2. Under "IMAP", select your Account.
�
3. Within the accounts settings, select "Advanced":
�
 Historical archive . public document