1
Disclaimer: Below is a detailed frame disassembly of the Canik series regarding the key action
componets. It is for informative purposes only. You assume all risks. If unsure, consult a professional.
Remove grip screws and take off the grips and then remove top magazine brake pin as shown
T_2013
T
�
2
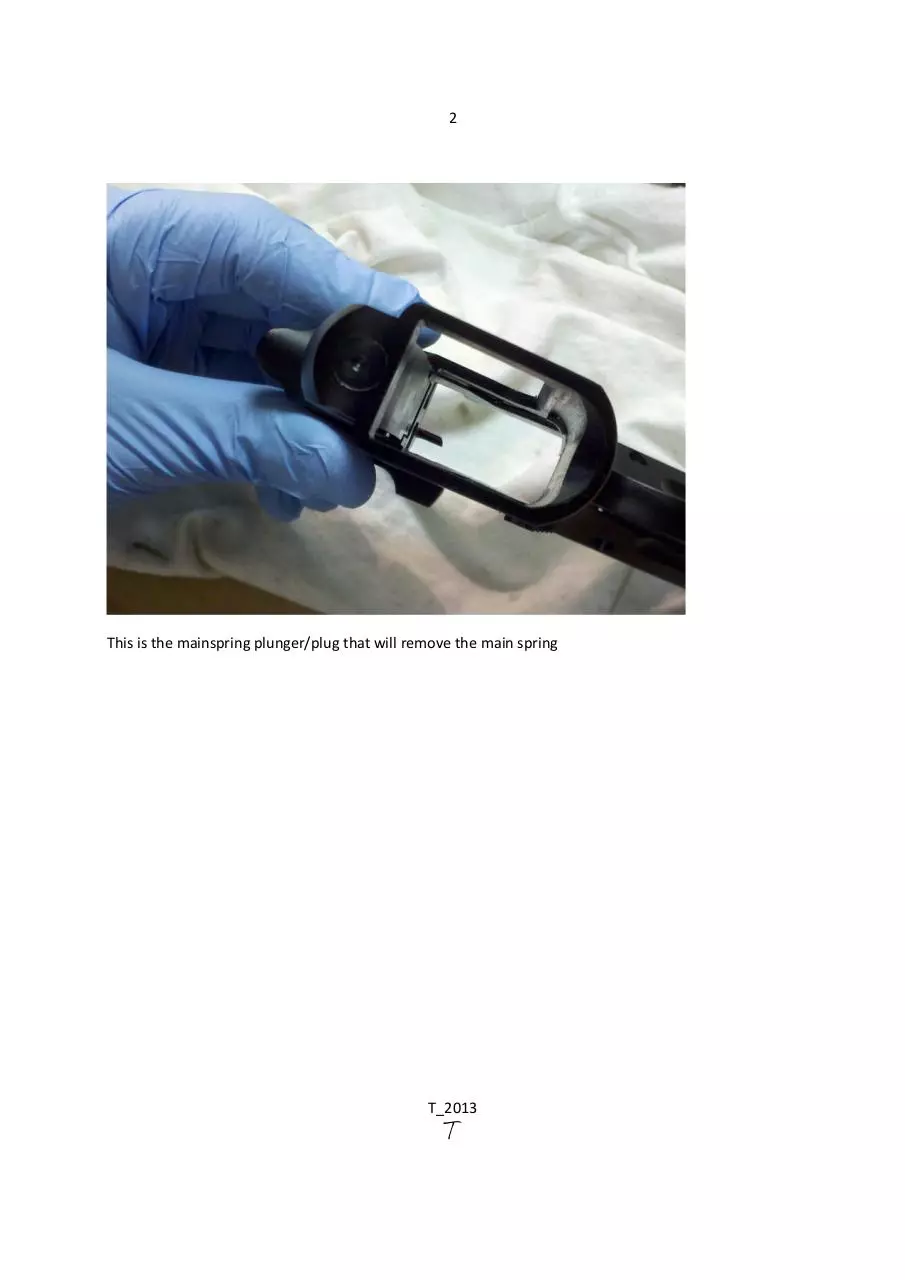
This is the mainspring plunger/plug that will remove the main spring
T_2013
T
�
3
Push down on a table and then push out the bottom pin as pictured while also lifting up on the
magazine brake to remove the mainspring plunger and magazine brake. A small ball bearing can be
placed under the mainspring plunger to help push it up in the frame a little further if needed.
T_2013
T
�
4
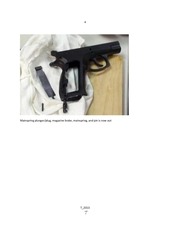
Mainspring plunger/plug, magazine brake, mainspring, and pin is now out
T_2013
T
�
5
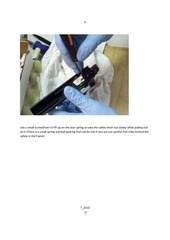
Use a small screwdriver to lift up on the sear spring to take the safety lever out slowly while pulling out
on it (There is a small spring and ball bearing that can be lost if you are not careful that rides behind the
safety in the frame)
T_2013
T
�
6
Pull the safety lever out. The small safety ball bearing is seen on the frame in picture. The spring for the
safety is still riding in the safety in a small hole in the back of it.
T_2013
T
�
7
Pull out the sear cage forward and up
T_2013
T
�
8
There is a small detent that holds the hammer pin at the right side. Use a magnetic tip of a screwdriver
to lift it out.
T_2013
T
�
9
Here is the detent lifted out on the tip of the screwdriver
T_2013
T
�
10
Take a punch and drive out the hammer pin
T_2013
T
�
11
Here is the hammer pin coming out
T_2013
T
�
12
Lift out the hammer, disconnector, and hammer strut. The small pins in the hammer can be punched out
to take off the strut and disconnector
T_2013
T
�
13
Remove the trigger and trigger bar by punching out the pin as shown
T_2013
T
�
14
Carefully punch out the pin and make sure you put a piece of tape or cloth over the trigger return spring
to catch it when you take out the pin/punch
T_2013
T
�
15
Lift up and pull back on the trigger bar and trigger assembly and it can now be lifted out of the frame
Reassembly is the reverse of what is shown. Using a slave pin will make putting the trigger return spring
back in much easier as you have to put it back in the hole/slot in the frame.
T_2013
T
�
 Historical archive . public document